Working with imperfect non-rectified tile vs rectified tile

Do you suffer from rectified tile dysfunction? 

It’s okay it can happen to anyone!

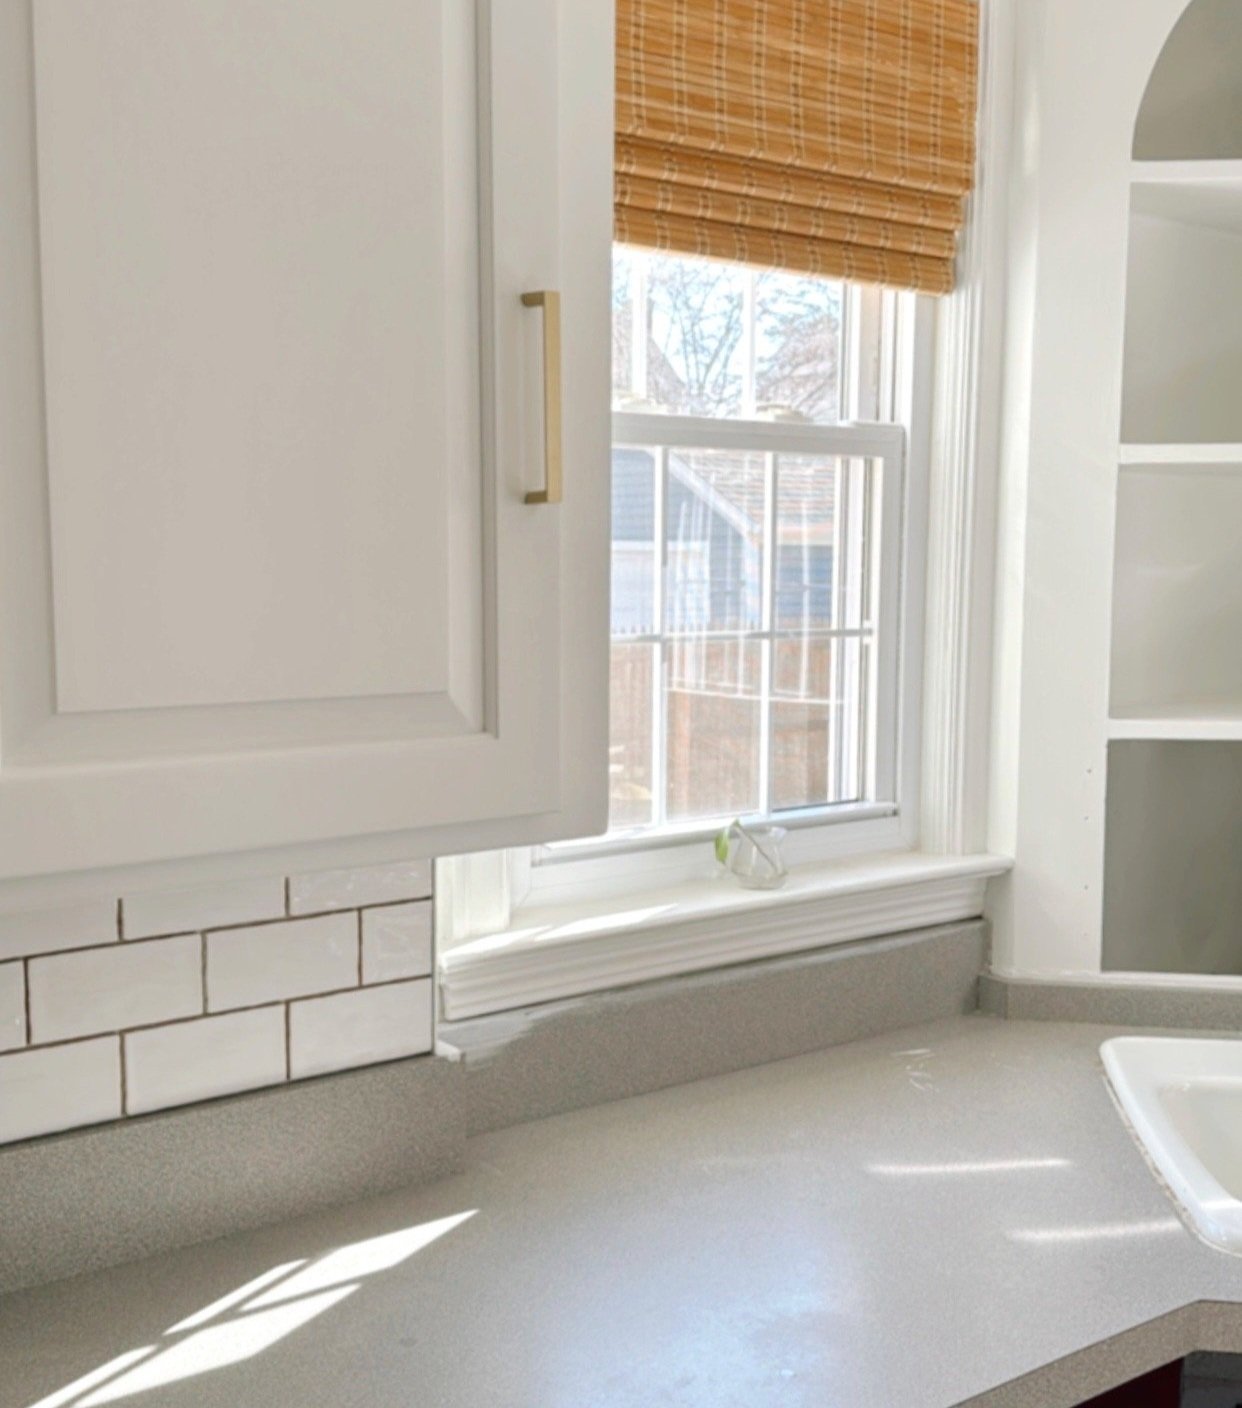
Obviously I am talking about tile edges. Why….what did you think I meant?

This post contains affiliate links. By purchasing through these links, as a Lowe’s Partner I may receive a small commission at no cost to you. All thoughts shared are my own and honest opinions.

Tile edges fall in two main categories: Rectified and Non-rectified (or Unrectified)

Rectified means the edges are machined so that they are clean and sharp to make them nearly identical. 

Then you have non-rectified where they are either molded or left with their imperfect edges through the firing process. 

I personally like the imperfect edge because this gives a natural character that resembles handmade tile with a nod to that gorgeous Zellige effect. 

I used Bedrosians ceramic tile which is crafted in Spain and loved the creamy white with the waves and ripples. You can find this tile at Lowe’s here.

So here is what we learned:

This tile is like putting together a tipsy jigsaw puzzle. Since there are waves in the edges you will need to select tiles that compliment one another’s edge variations. It takes patience and time. 

The 3/32 (2 mm) spacer was the best fit. Anything smaller and it didn’t leave room for the variations in tile edges. However, the spacer will only be a general guide. The natural edge of the tile is going to be too tight or too wide if you go solely on the spacer. Also another shout out to Musselbound here because it can hold your tile in place without relying on the spacers to keep in position while the thinset dries. FYI: Musselbound comes with enough spacers so you don’t have to buy any extra. You can find it here.

A laser level is crucial to keep your general line straight BUT again the natural edge of the tile plays visual tricks. You need to turn off the level and step back to get the full effect and compensate for the tile shape. I use the Catlyn 16 Line from Amazon which you can find here.

Take your time and go slow. It’s going to be tedious but the end effect is worth it!

Now time to grout!!

Resources:

Bedrosians Marin Pearl White (White) 3-in x 6-in Glossy Ceramic Subway Wall Tile.

Two rolls of MusselBound 15-sq ft Plastic Waterproofing Tile Membrane

Project Source 14-in Ceramic Tile Cutter Kit

Catlyn 16 Lines 360 Laser Level (Amazon)