Should you seal your grout after installation?
This post contains affiliate links. By purchasing through these links, as a Lowe’s Partner I may receive a small commission at no cost to you. All thoughts shared are my own and honest opinions.

This post contains affiliate links. By purchasing through these links, as a Lowe’s Partner I may receive a small commission at no cost to you. All thoughts shared are my own and honest opinions.


This post contains affiliate links. By purchasing through these links, as a Lowe’s Partner I may receive a small commission at no cost to you. All thoughts shared are my own and honest opinions.


This post contains affiliate links. By purchasing through these links, as a Lowe’s Partner I may receive a small commission at no cost to you. All thoughts shared are my own and honest opinions.
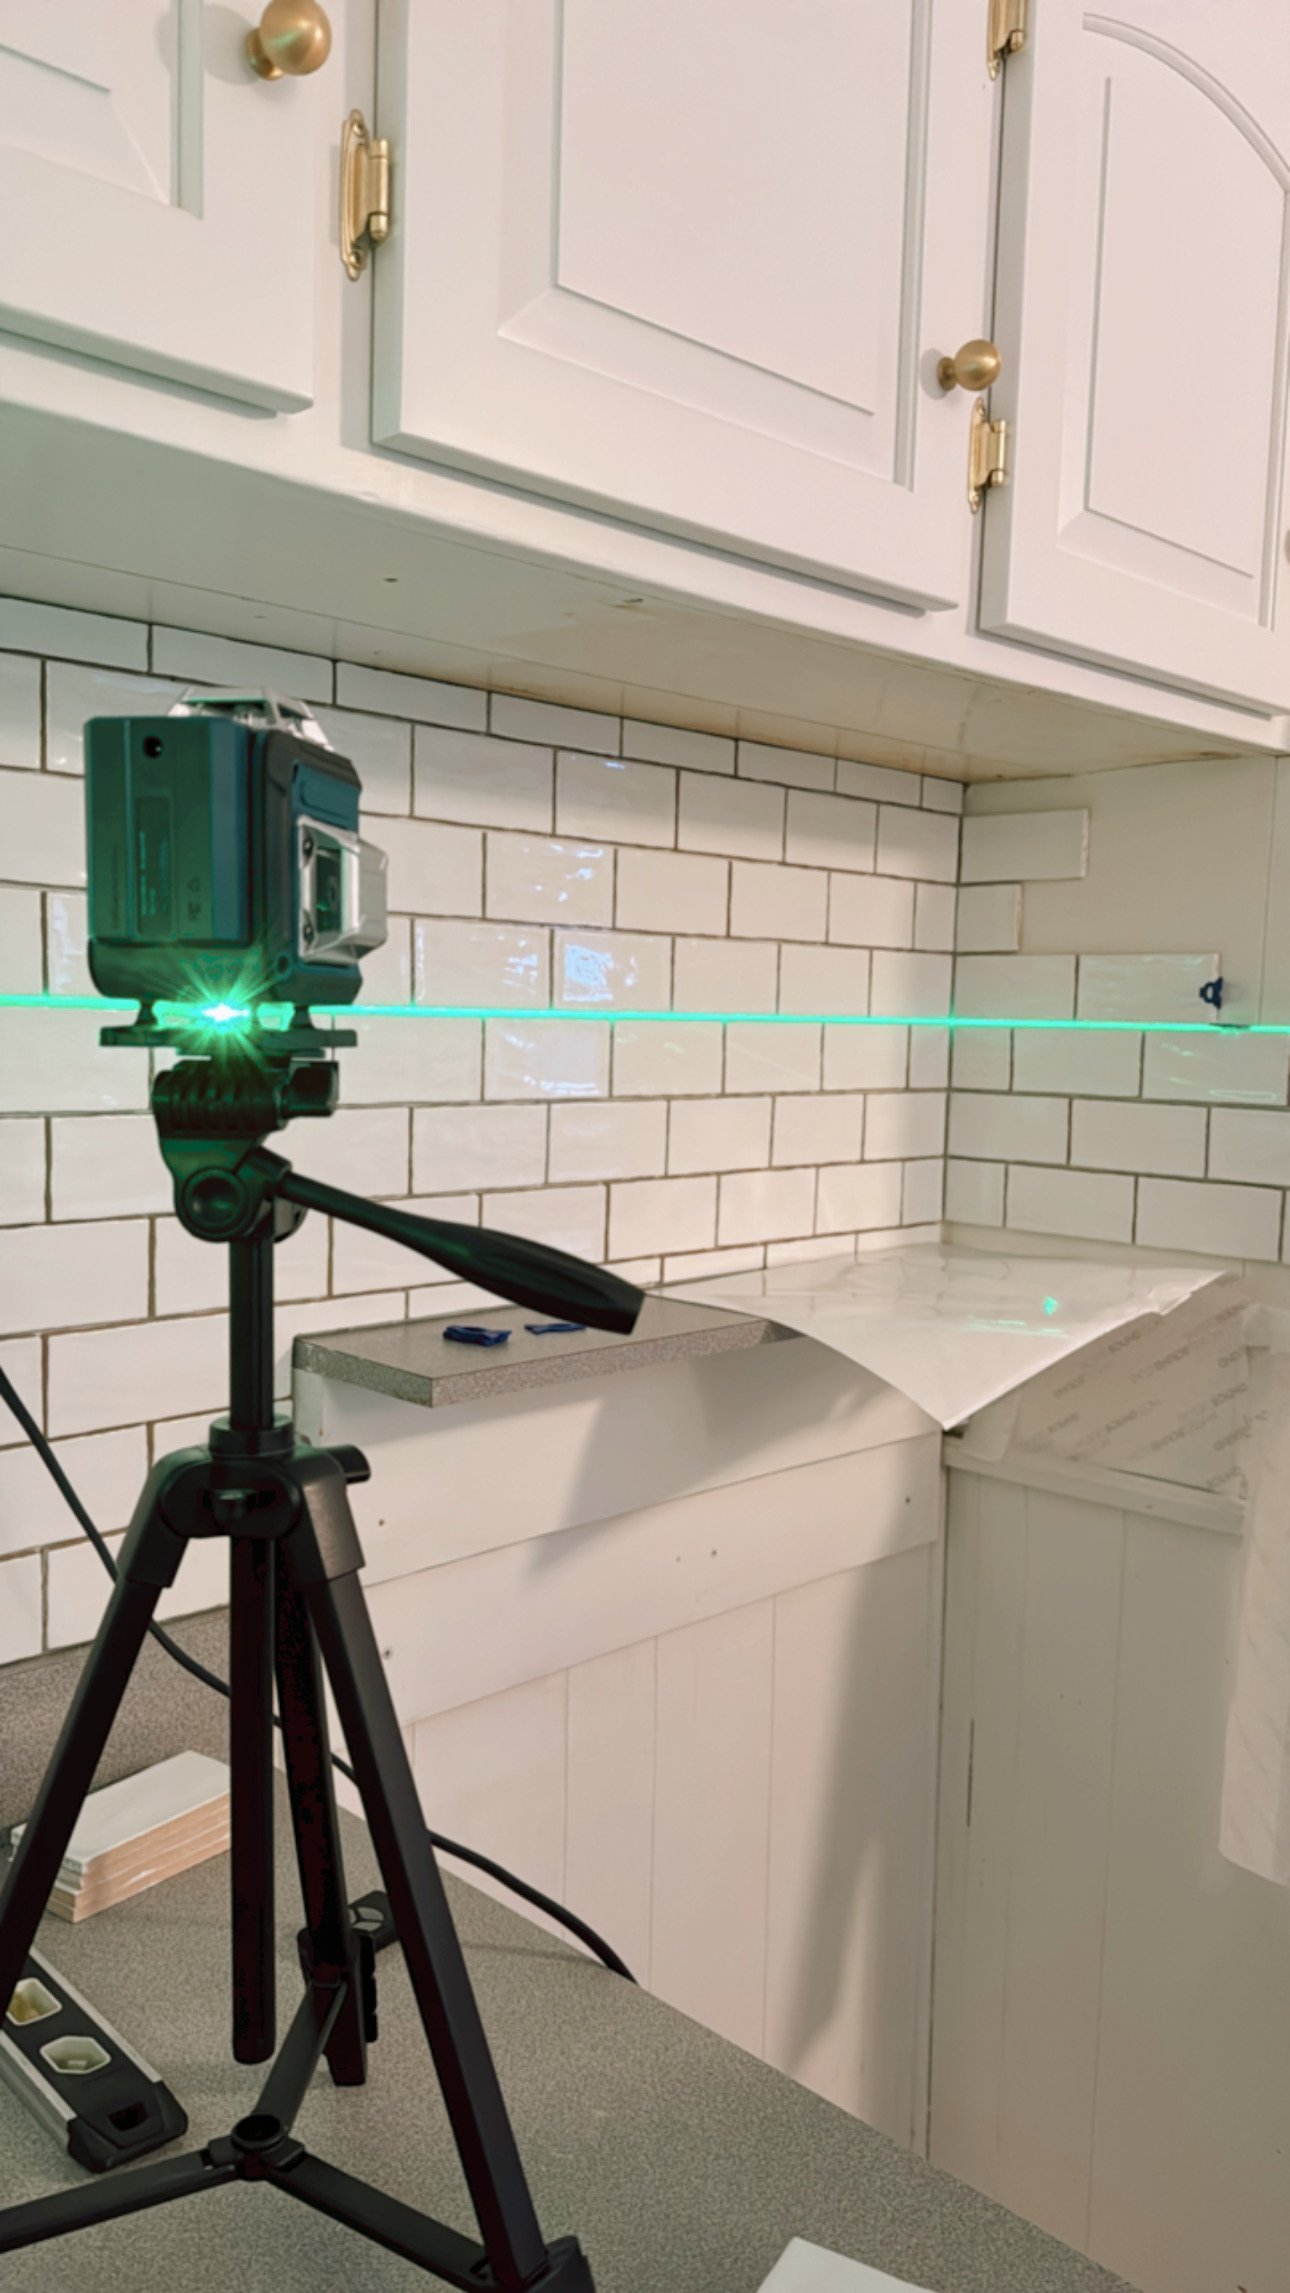
Super beginner friendly. If you know how to use double sided tape then you know how to use musselbound. Roll the length out for your wall, cut it, stick it to your wall, push down once in place, pull the outer liner and now you are ready to place your tiles. It is very forgiving. If you need to reposition it you can, if you need to cut a little piece to fill a gap you can.
Tile adjustment friendly. You can easily test a tile placement before committing. It will hold the tile in place so you can step back to examine the line. Since we were using tile that mimicked a handmade edge there were no clean lines. We had to pull the same tile off 5+ times with no issue.
Easy to adhere. Once you like the spot just push down for 5 seconds - like literally that’s it. No dry time.
And because there is no dry time you are ready to grout as soon as your last tile is in place.
Each roll comes with a variety of tile spacers. Since there is no dry time you only need the 2-3 you are using for the current tile. Then you can pull it and move to the next immediately.
Non-messy! This is what sold me in the first place. Zero drips or glops to worry about (until you grout of course lol).

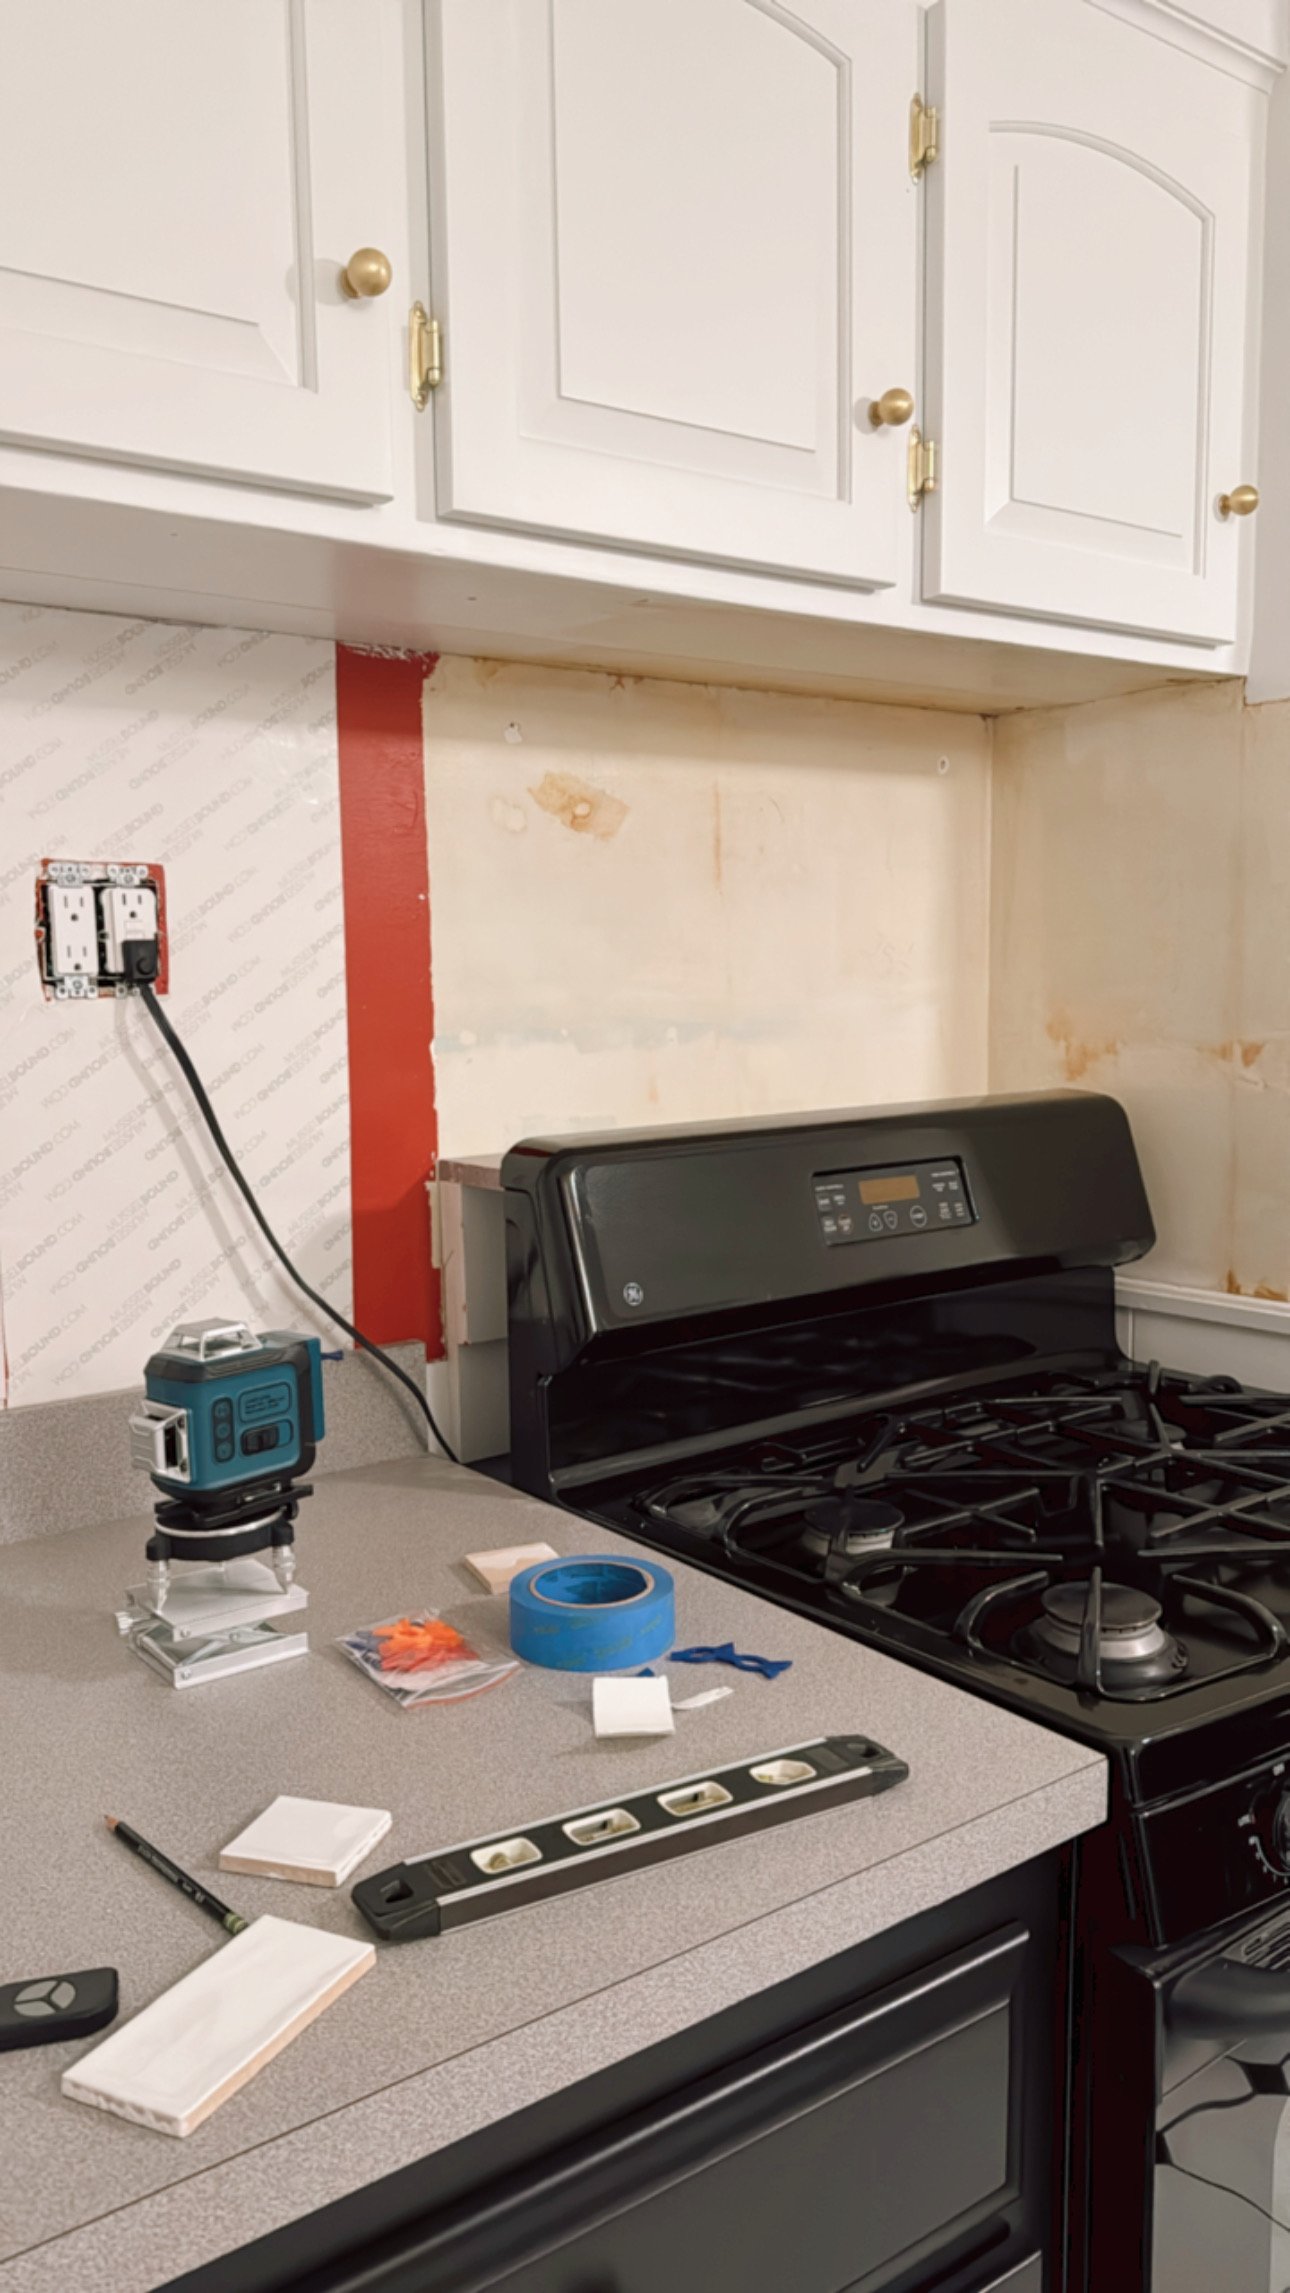
Meant for flat (mostly flat) walls. If you have textured walls or significant dip and bumps you are likely to have adhesion issues. Not only that but because the sheeting is so thin it won’t compensate the way thin-set would. Thin-set being a paste is going to spread into those imperfections so the tile sits flat. We also wiped down our walls really well and that helped.
The price point is higher. Let’s face it you are paying for convenience. Since we were doing a smaller backsplash area it worked out but we still used about 2 rolls.
Now I have heard horror stories of people waking up the next day to find all their tiles fell in the middle of the night. We did not have any issues like that at all. So it’s definitely something I would use again.
We left off at Part One with the walls and cabinets, you can find that here if you haven’t seen it yet. The walls and cabinets were patched and painted so we could move onto the next part of the list that was……


Here is what is left on the DIY renovation list:
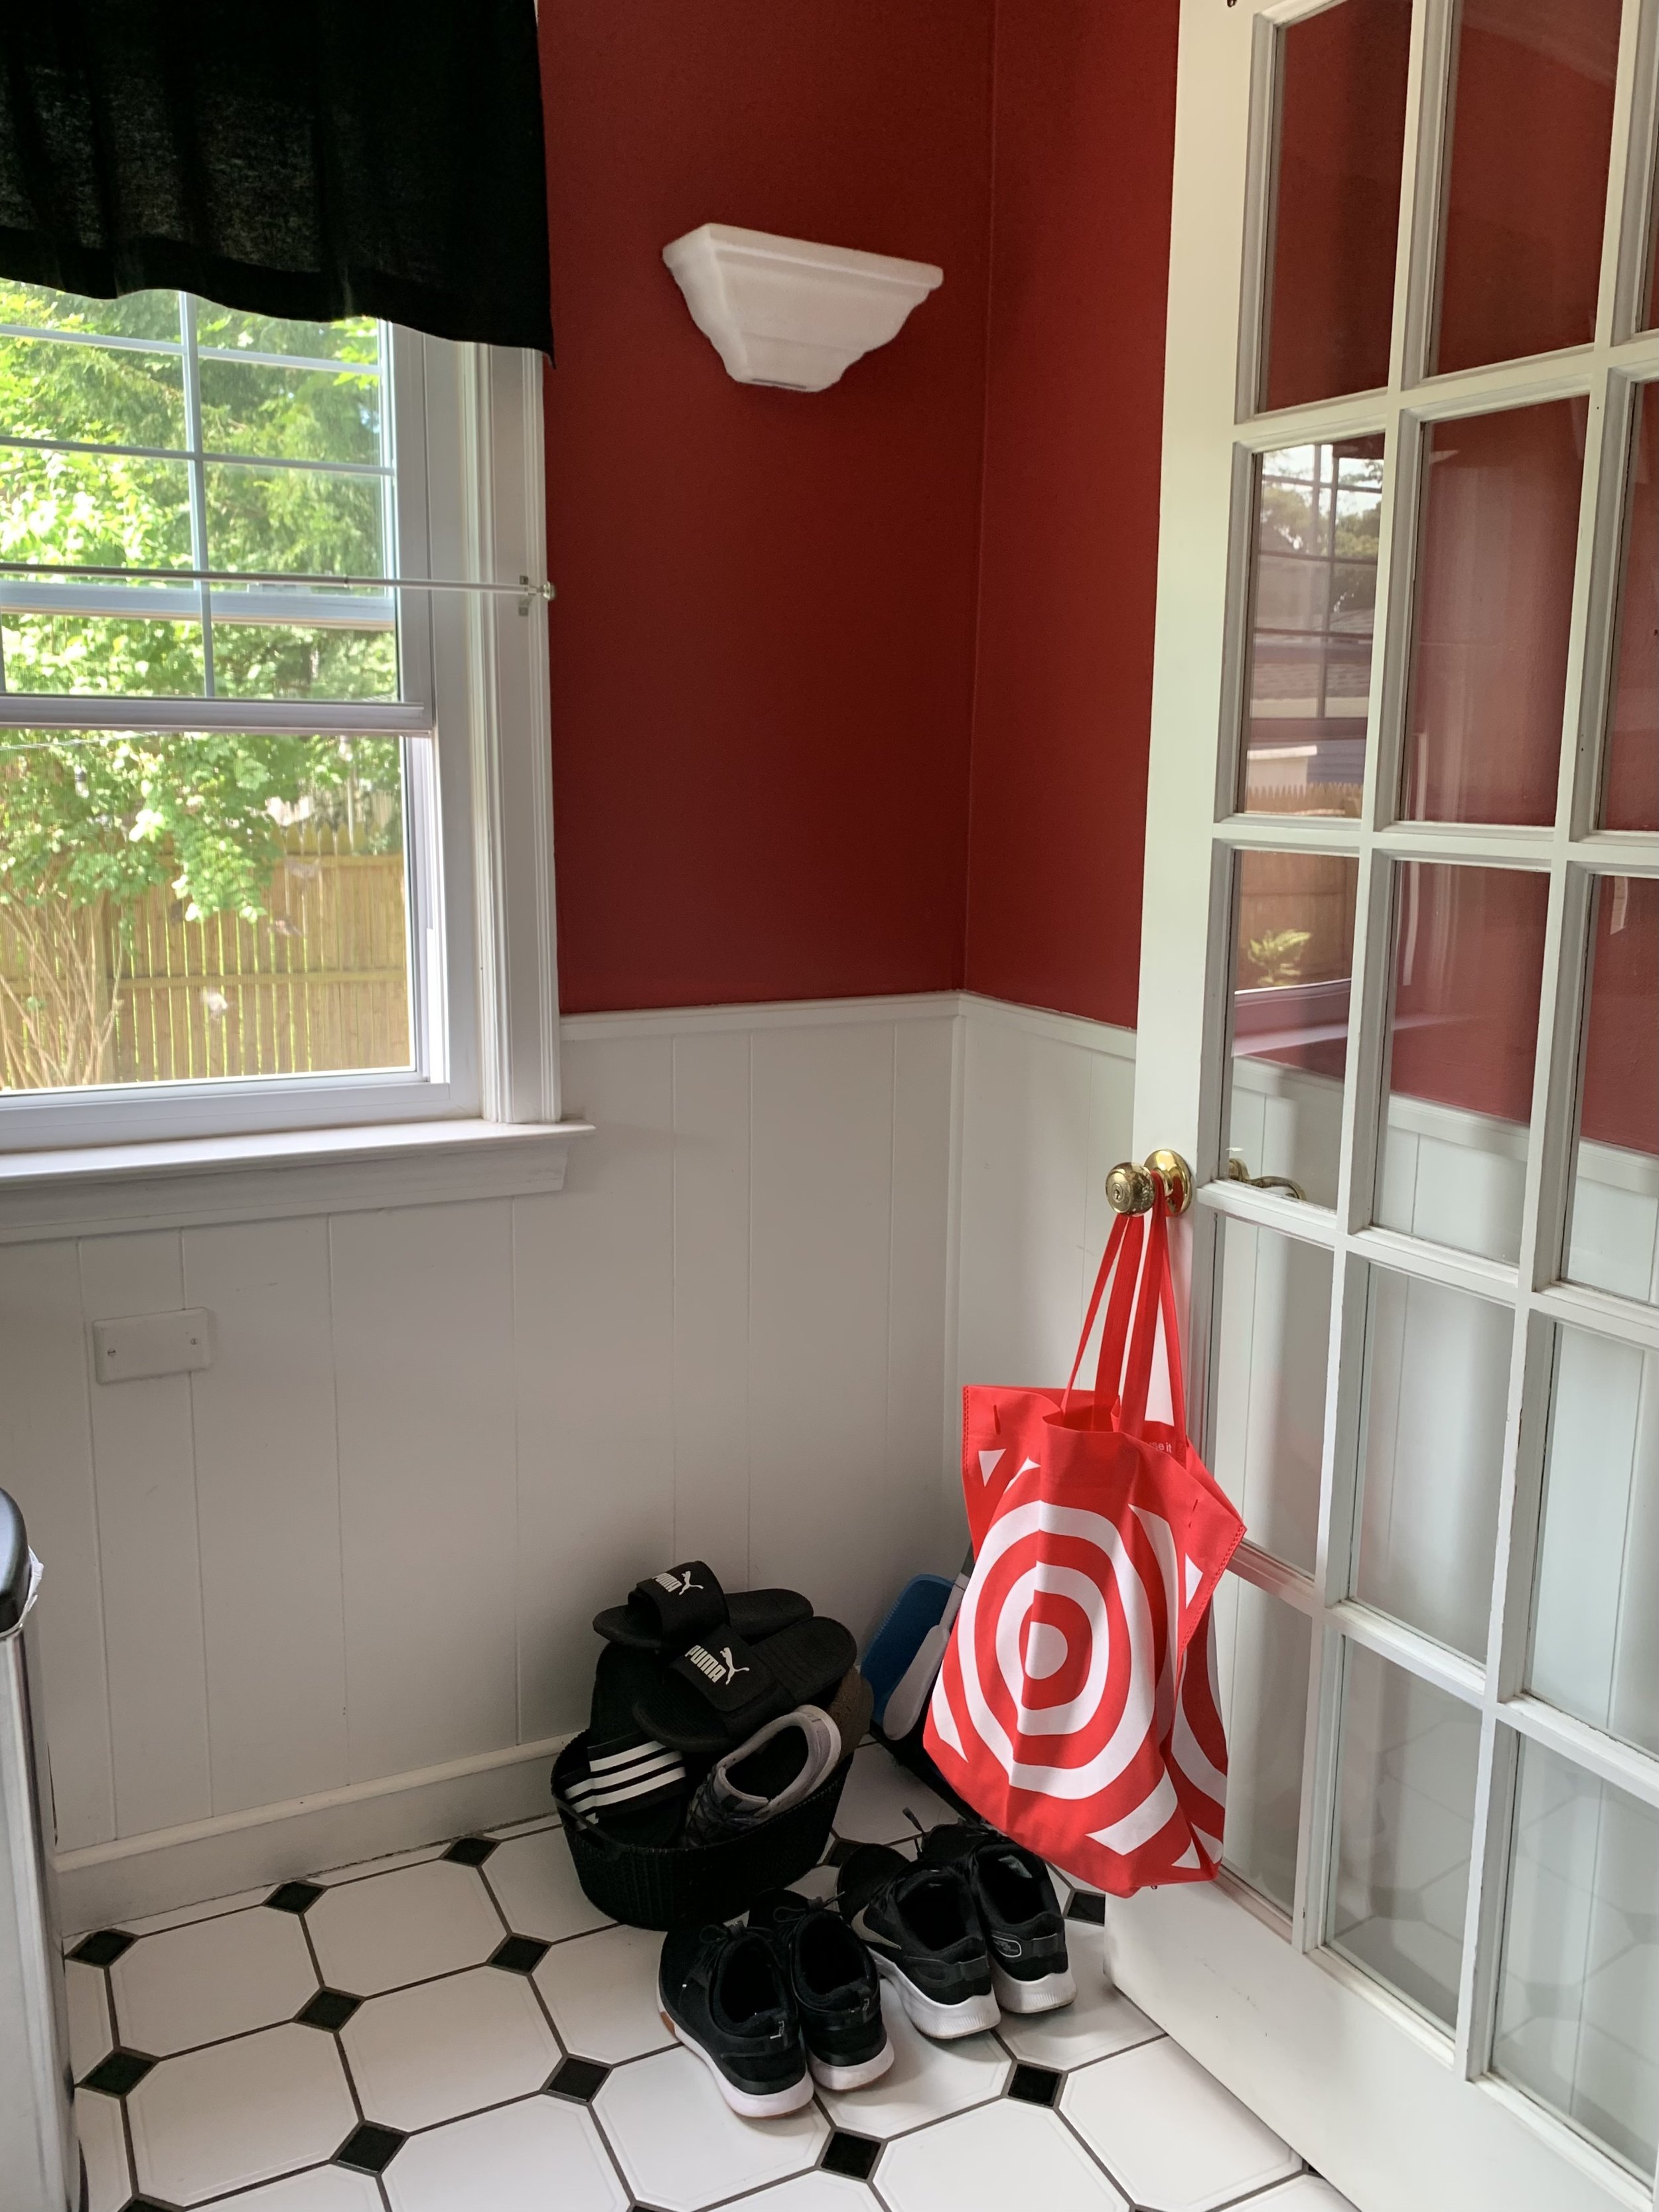
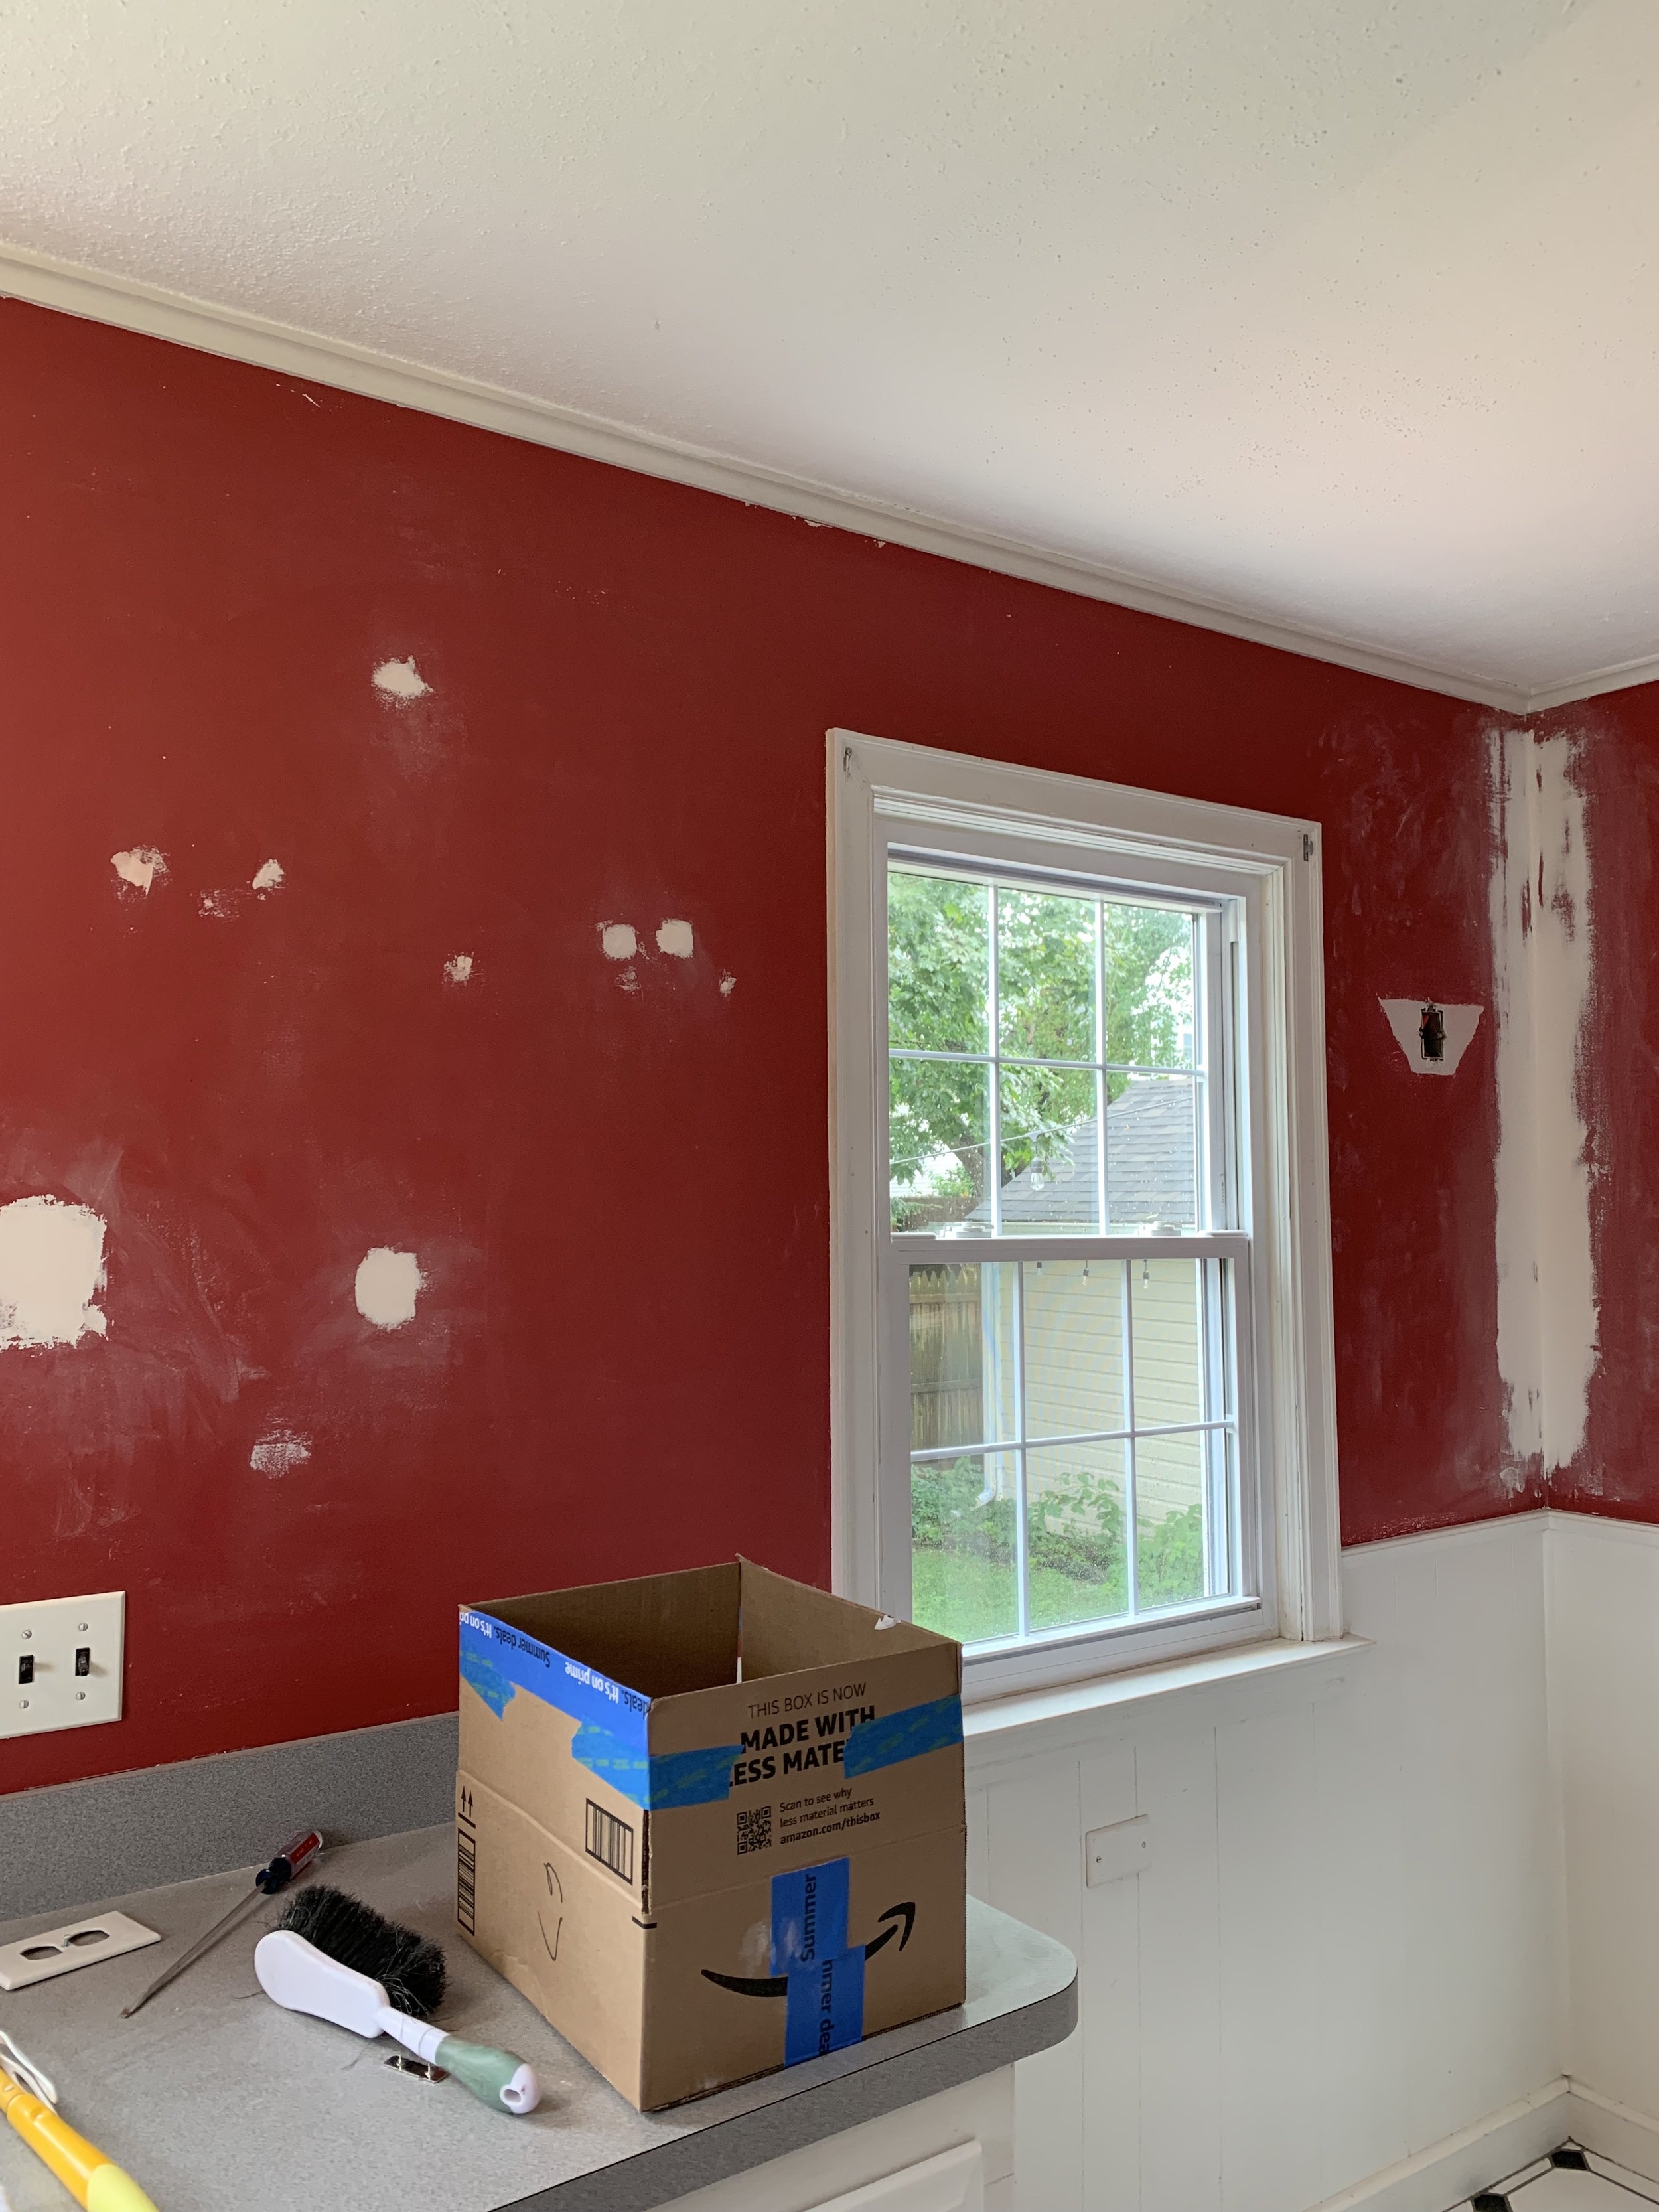
Say goodbye to the red
Paint existing cabinets + new hardware
Work existing flooring + trim into design
Scrape textured ceiling
Update lighting
Add backsplash but keep the design simple
Update fridge and range to match existing appliances
Paint existing laminate countertop (this has been a controversial decision!)
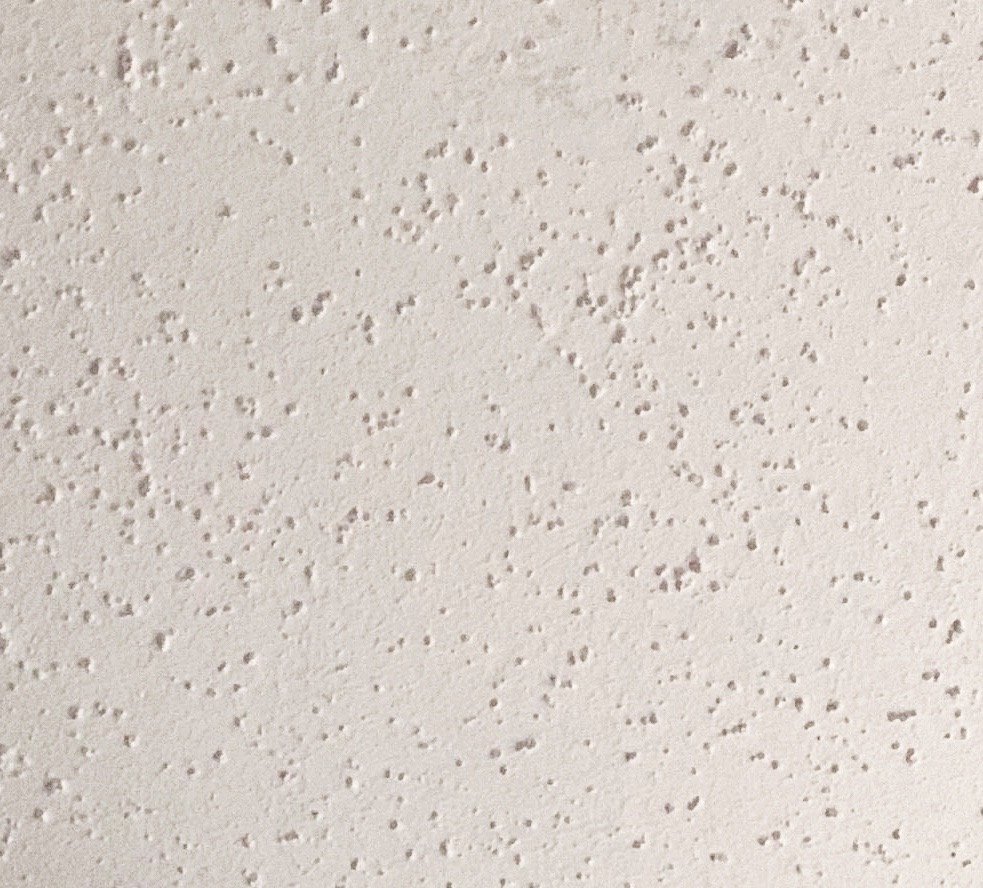
The early 90’s texture HAD to go. Big fan of
First things first we tested for asbestos - thankfully the results came back negative so we were in the clear to get started. After watching several satisfying videos where you spray the ceiling with water and watch the texture easily slide off in sheets with a scraper we confidently embarked on our own ASMR journey. However, we discovered ours had been painted over and no amount of water, scraping or sanding was going to work. Change of plans - we opted instead to skim coat right over the textured ceiling using joint compound and if you want more info on that process let me know! The process isn’t complicated but it is time consuming and so flippin’ messy. The end result though means no more dated texture.
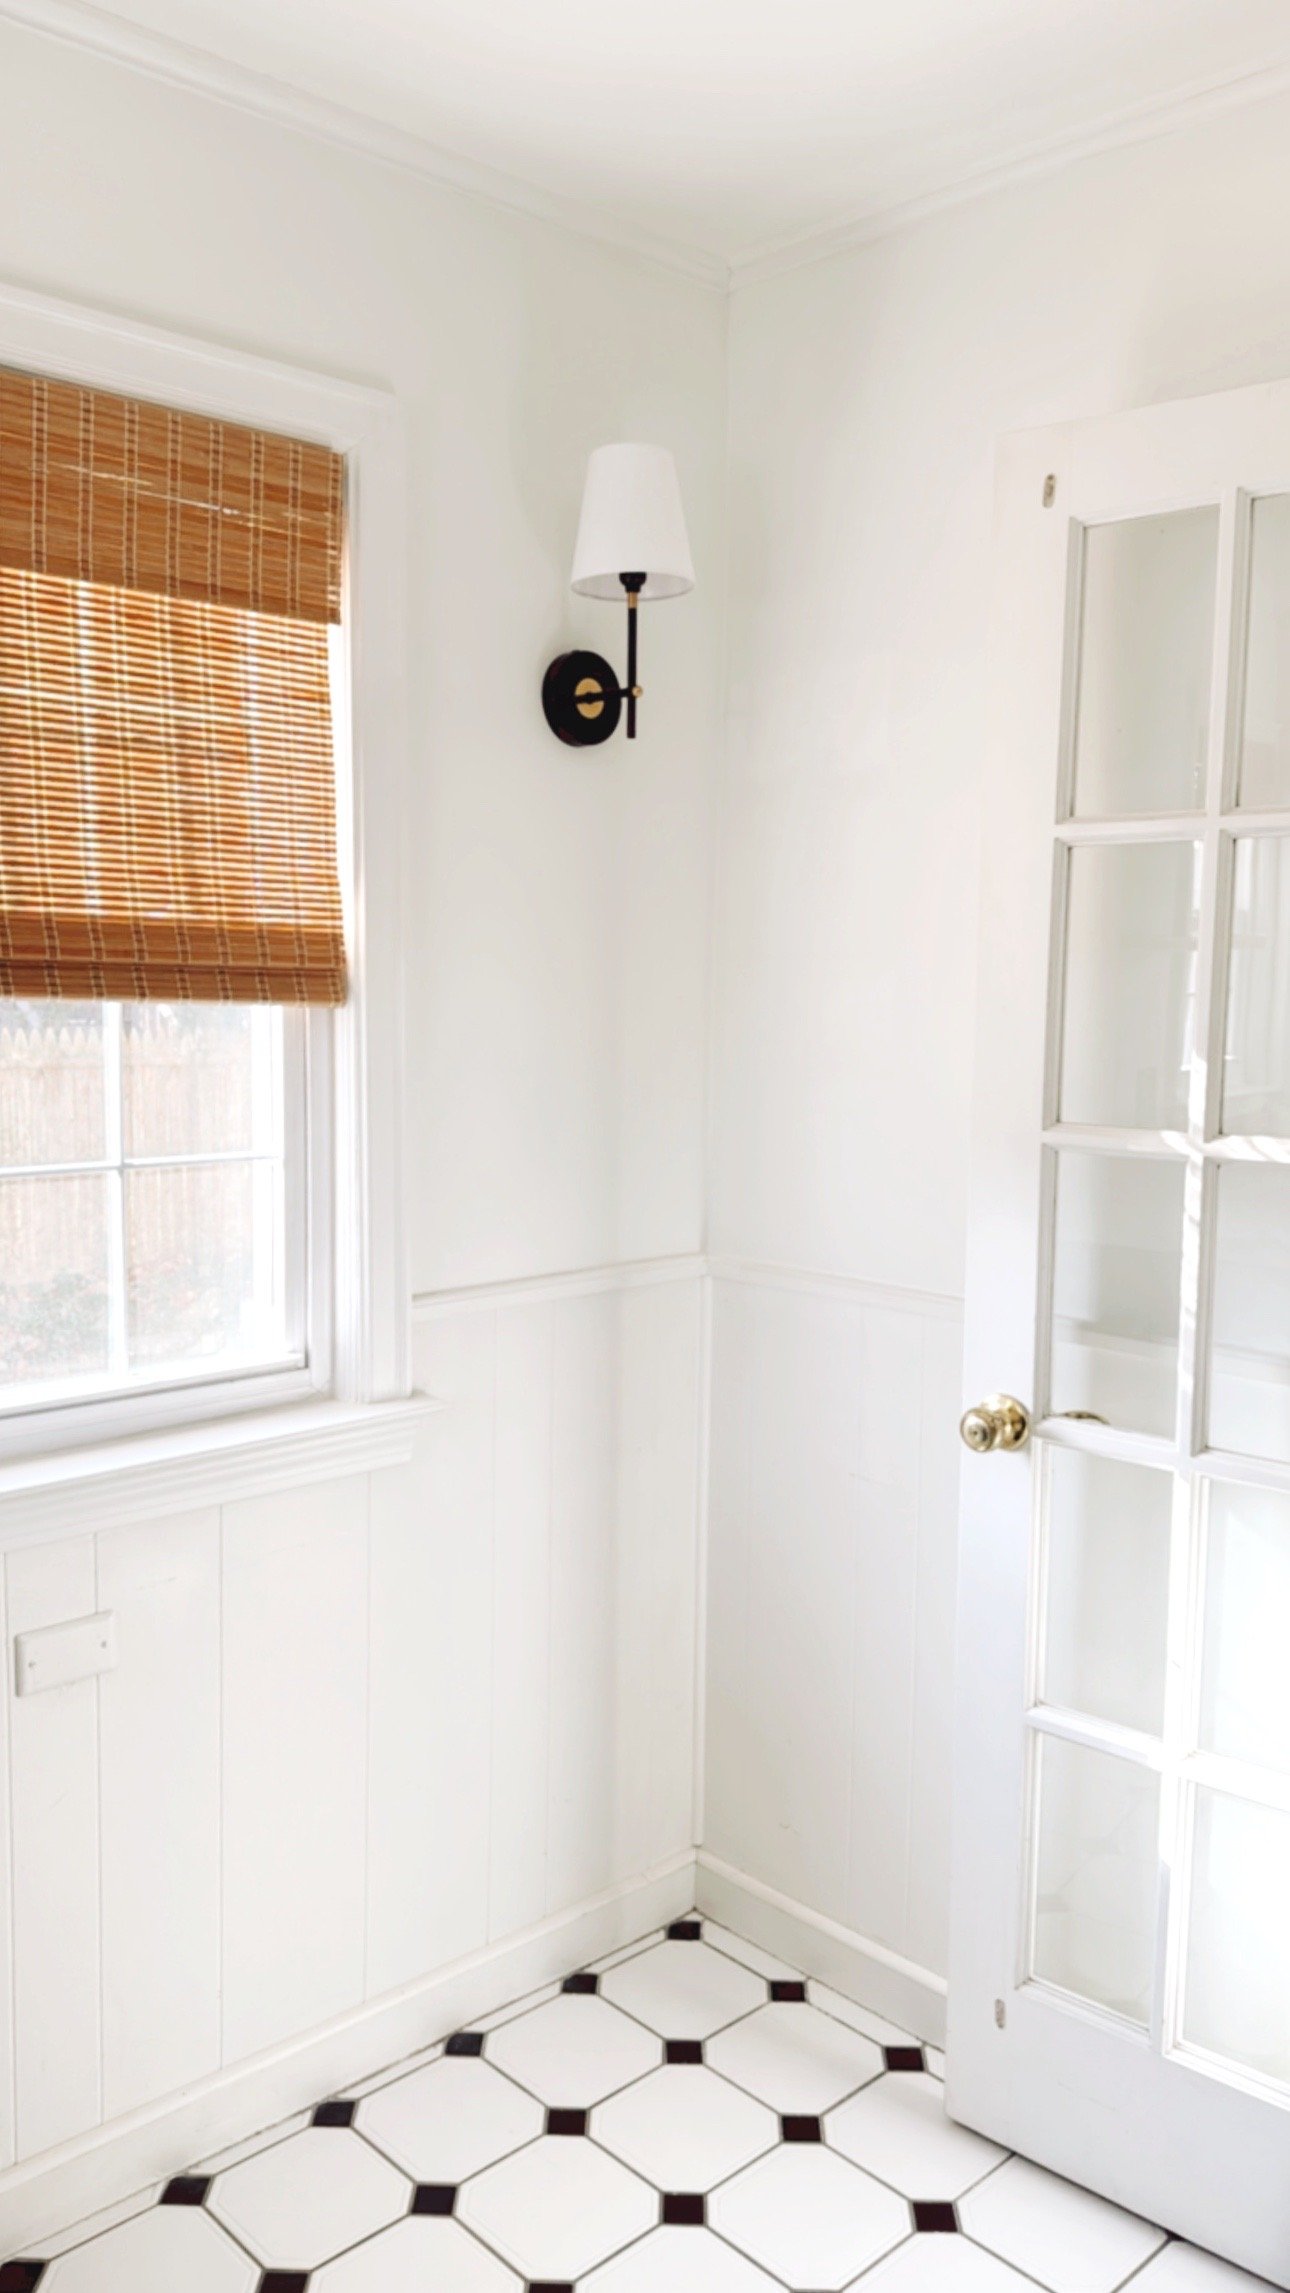
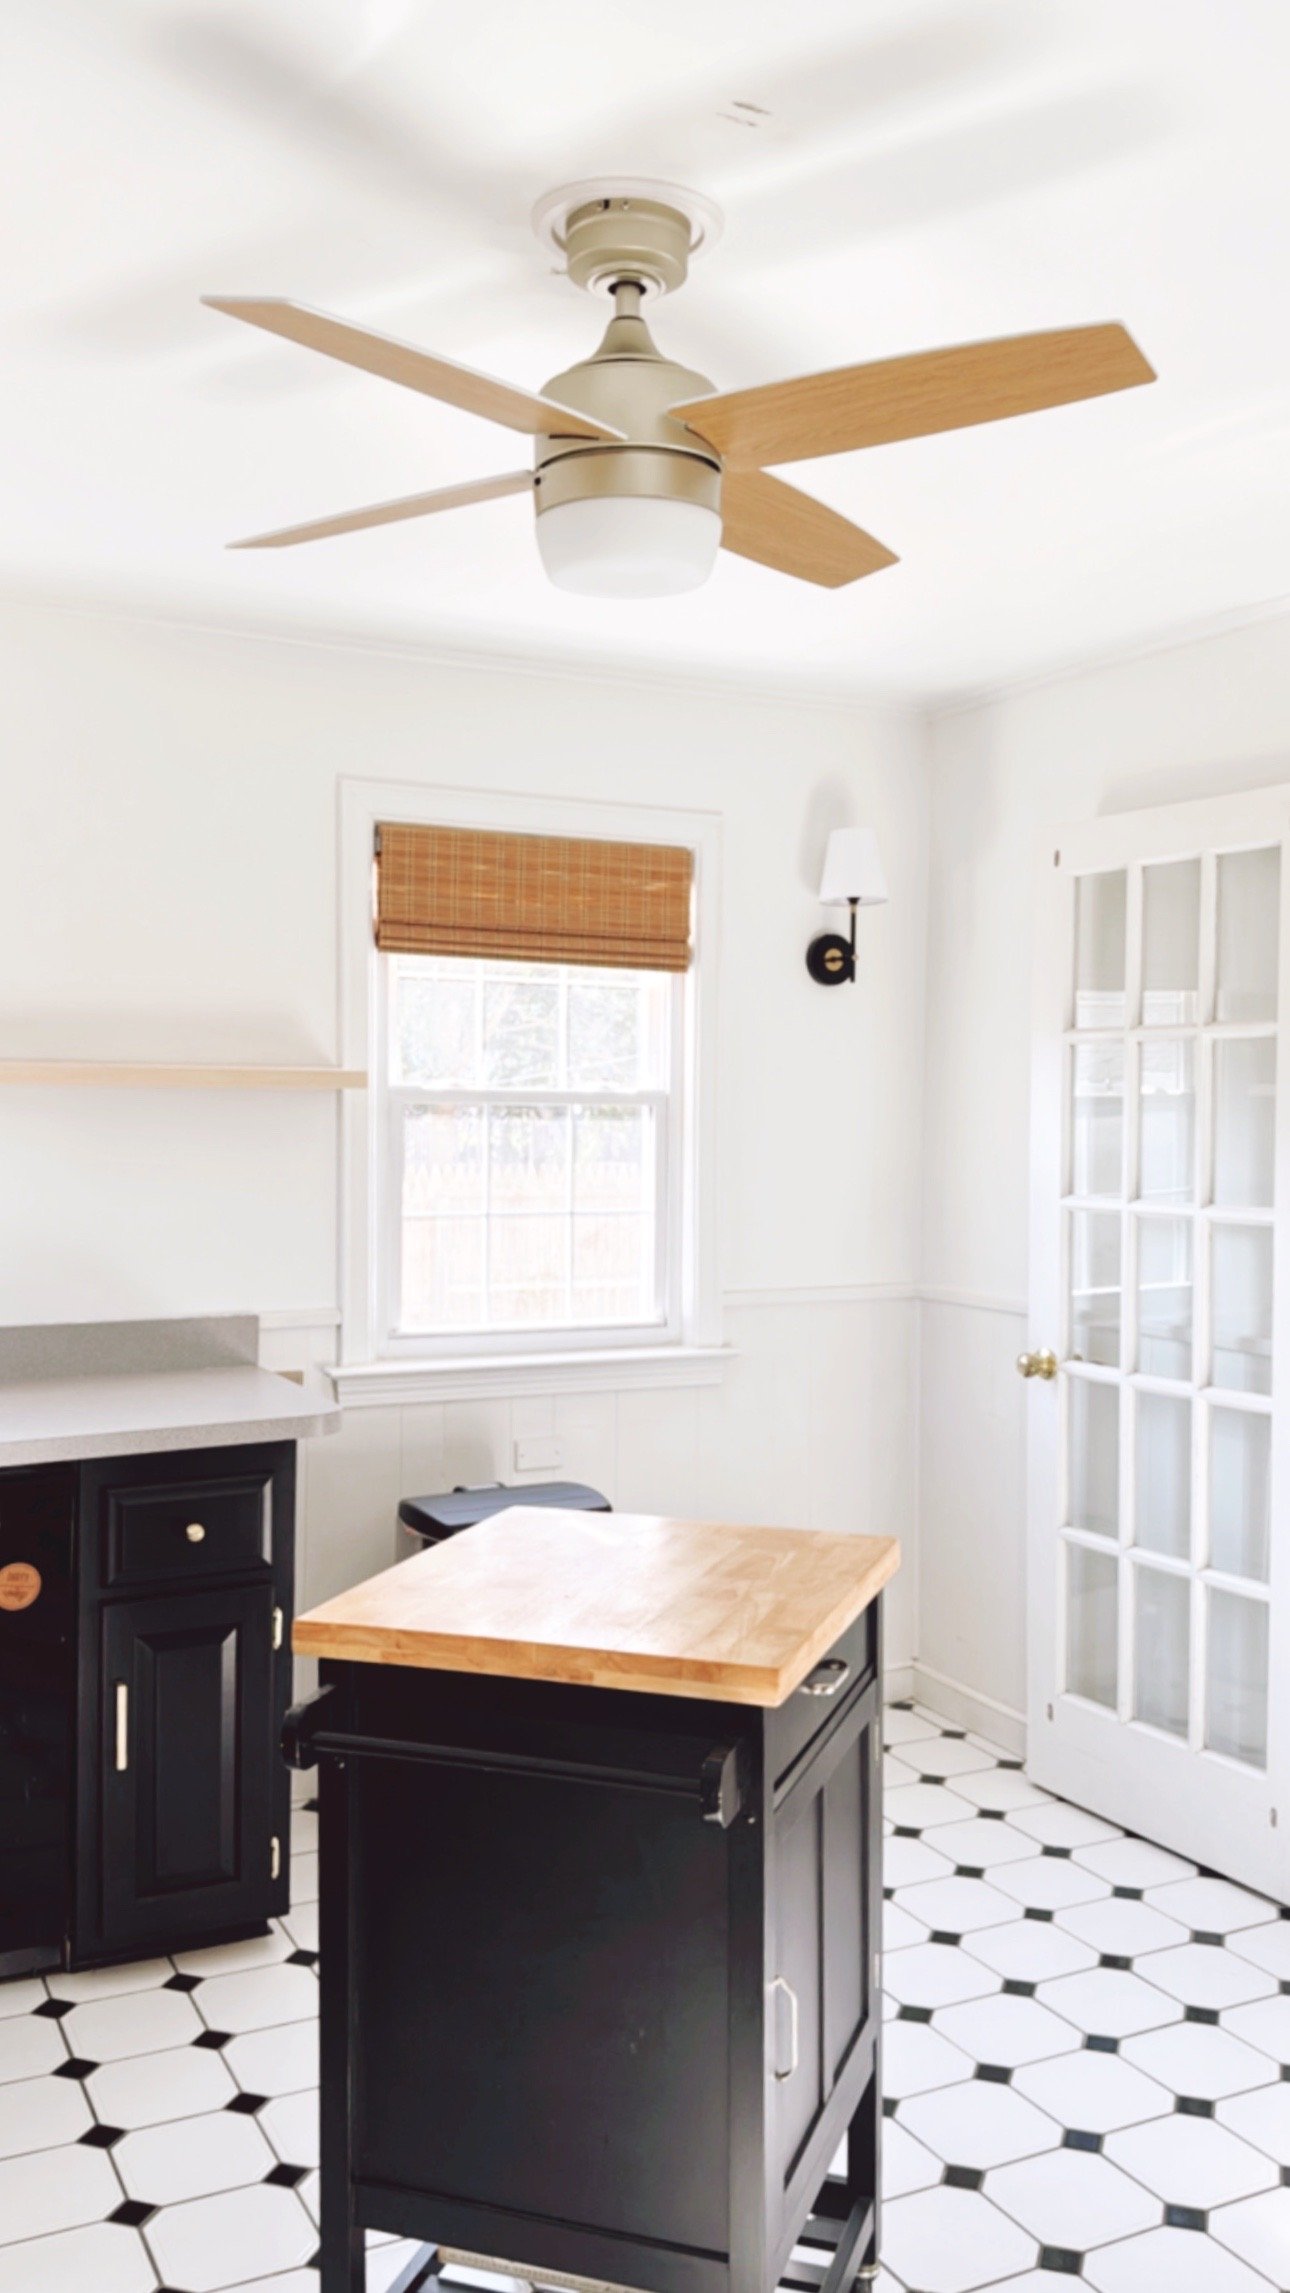
Now that the ceiling was skim coated and smoothed we could update the ceiling fan and wall sconce which were both installed around the same time the ceiling was textured in the 90’s, Sidenote: no hate to the 90’s that was the best decade in my humble opinion. We got MVPs like Pizza Bagels, Nirvana and Daria. Anywhooooo…

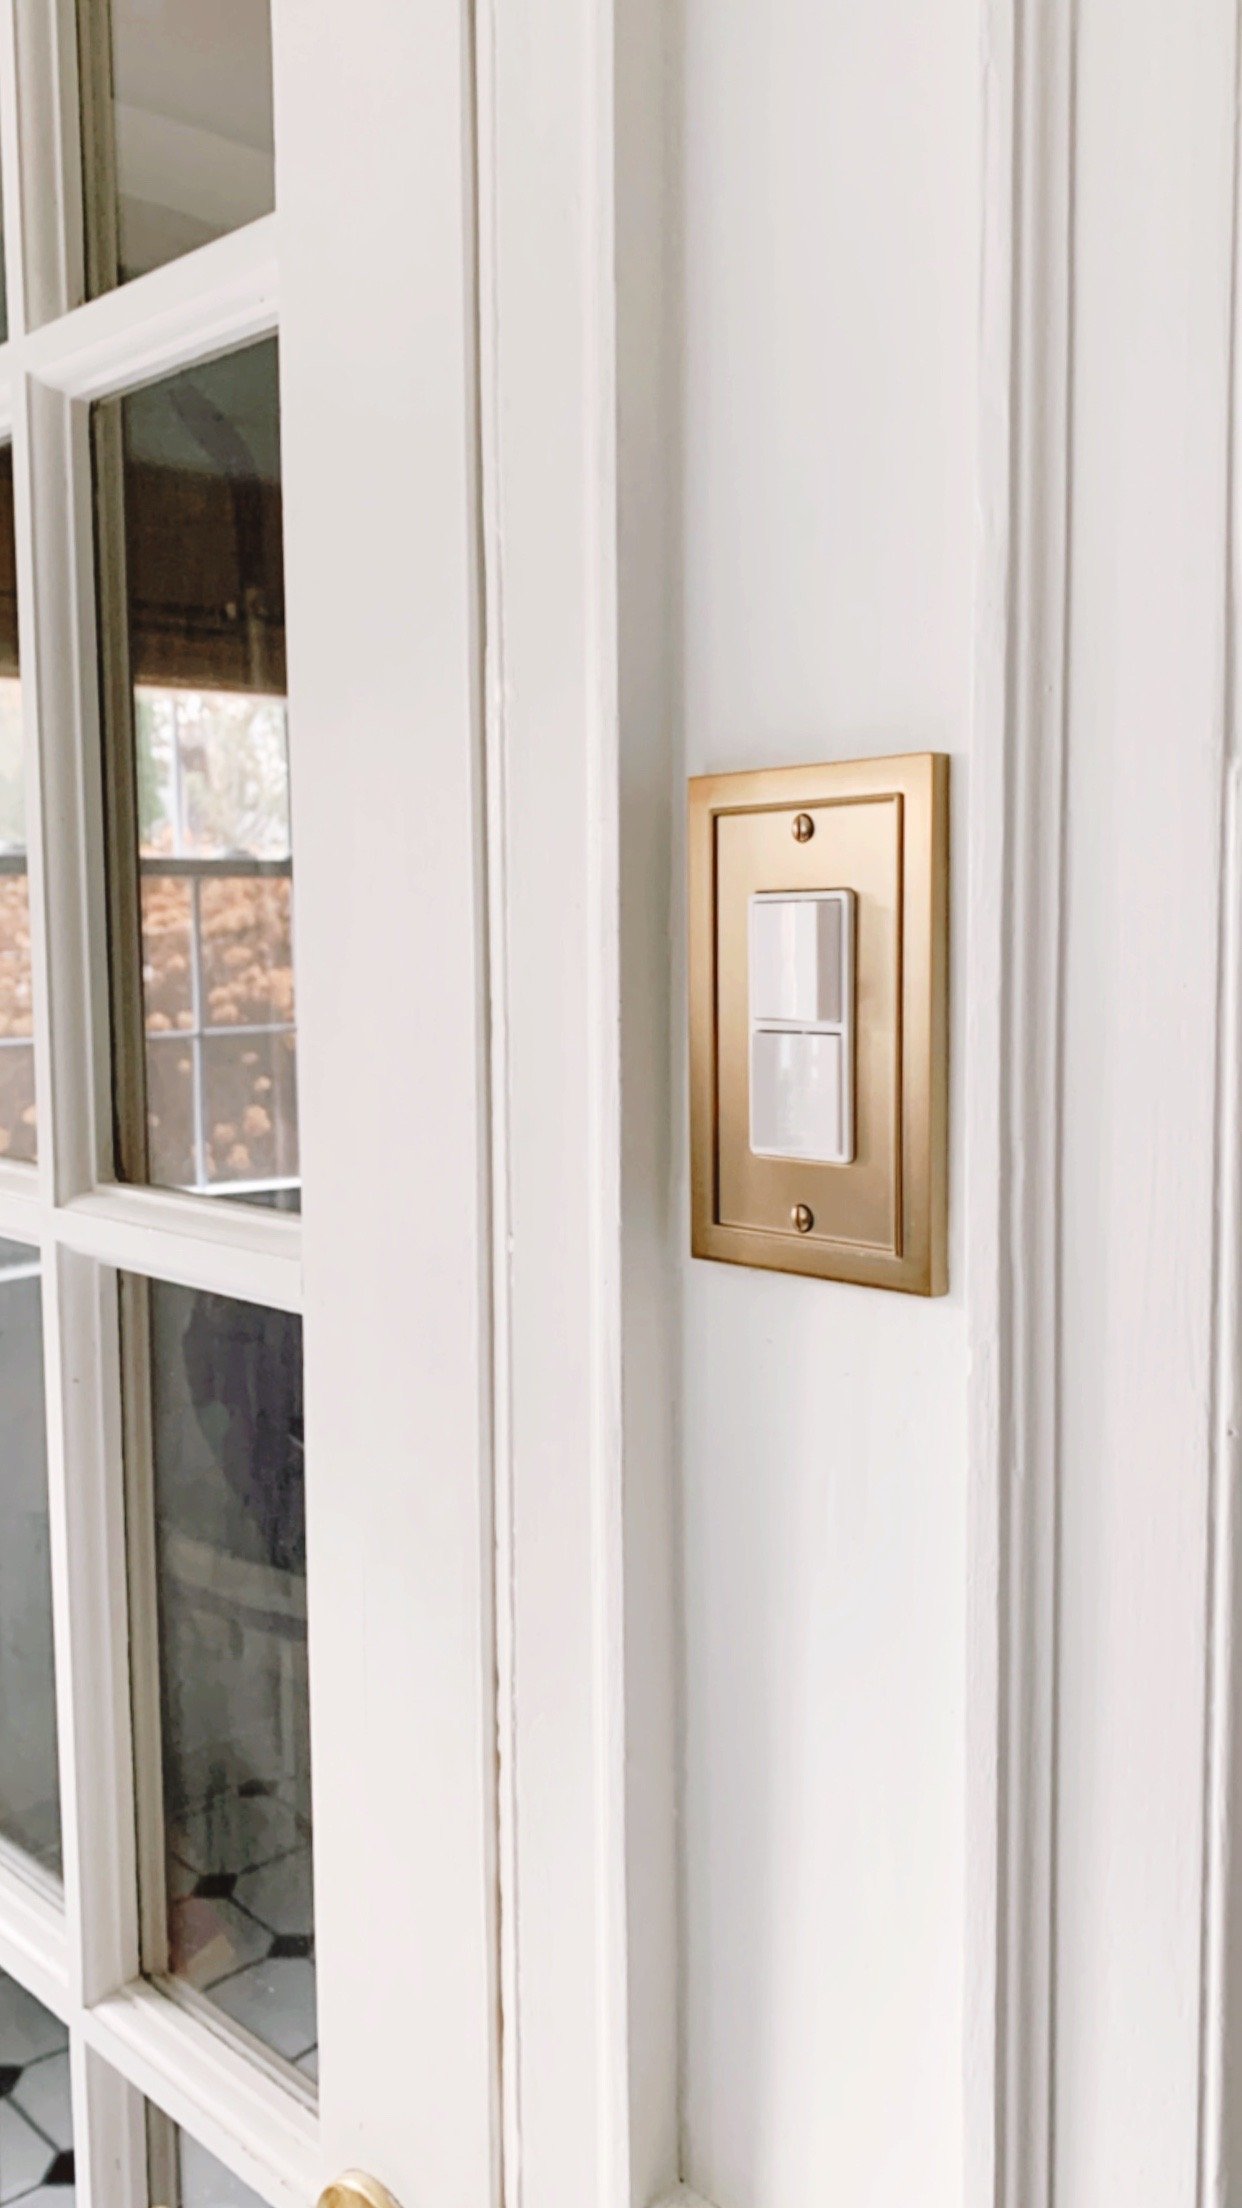
We went with a modern LED ceiling fan that had warm wood blades and a champagne gold finish to continue bringing warmth into the mainly black and white space. The scone was an Amazon find for another project that didn’t work out but was perfect for the corner and a welcome $$ savings to the project. Since our budget had been eaten up by the mold disaster in the basement earlier this year we had to pull back on several list items that would have made a big visual impact. I still wanted to find ways to elevate the space in really affordable ways. I opted to focus on smaller details like switch plates and outlet covers for this. This is SUCH a game changer. These little touches are really bringing the space together.

This post contains affiliate links. By purchasing through these links, I may receive a small commission at no cost to you. All thoughts shared are my own and honest opinions.
Wall Sconce: Vonluce Matte Black and Gold Sconce with Shade.
Switch Plates (gifted): Bethany Collection from Amerelle also available on Amazon
Ceiling Fan: Atlas 44” by Prominence Home
This is how our listing is looking now!
Say goodbye to the red
Paint existing cabinets + new hardware
Work existing flooring + trim into design
Scrape textured ceiling **Aka skim coat ceiling
Update lighting
Add backsplash but keep the design simple
Update fridge and range to match existing appliances
Paint existing laminate countertop
The kitchen project is finally underway!
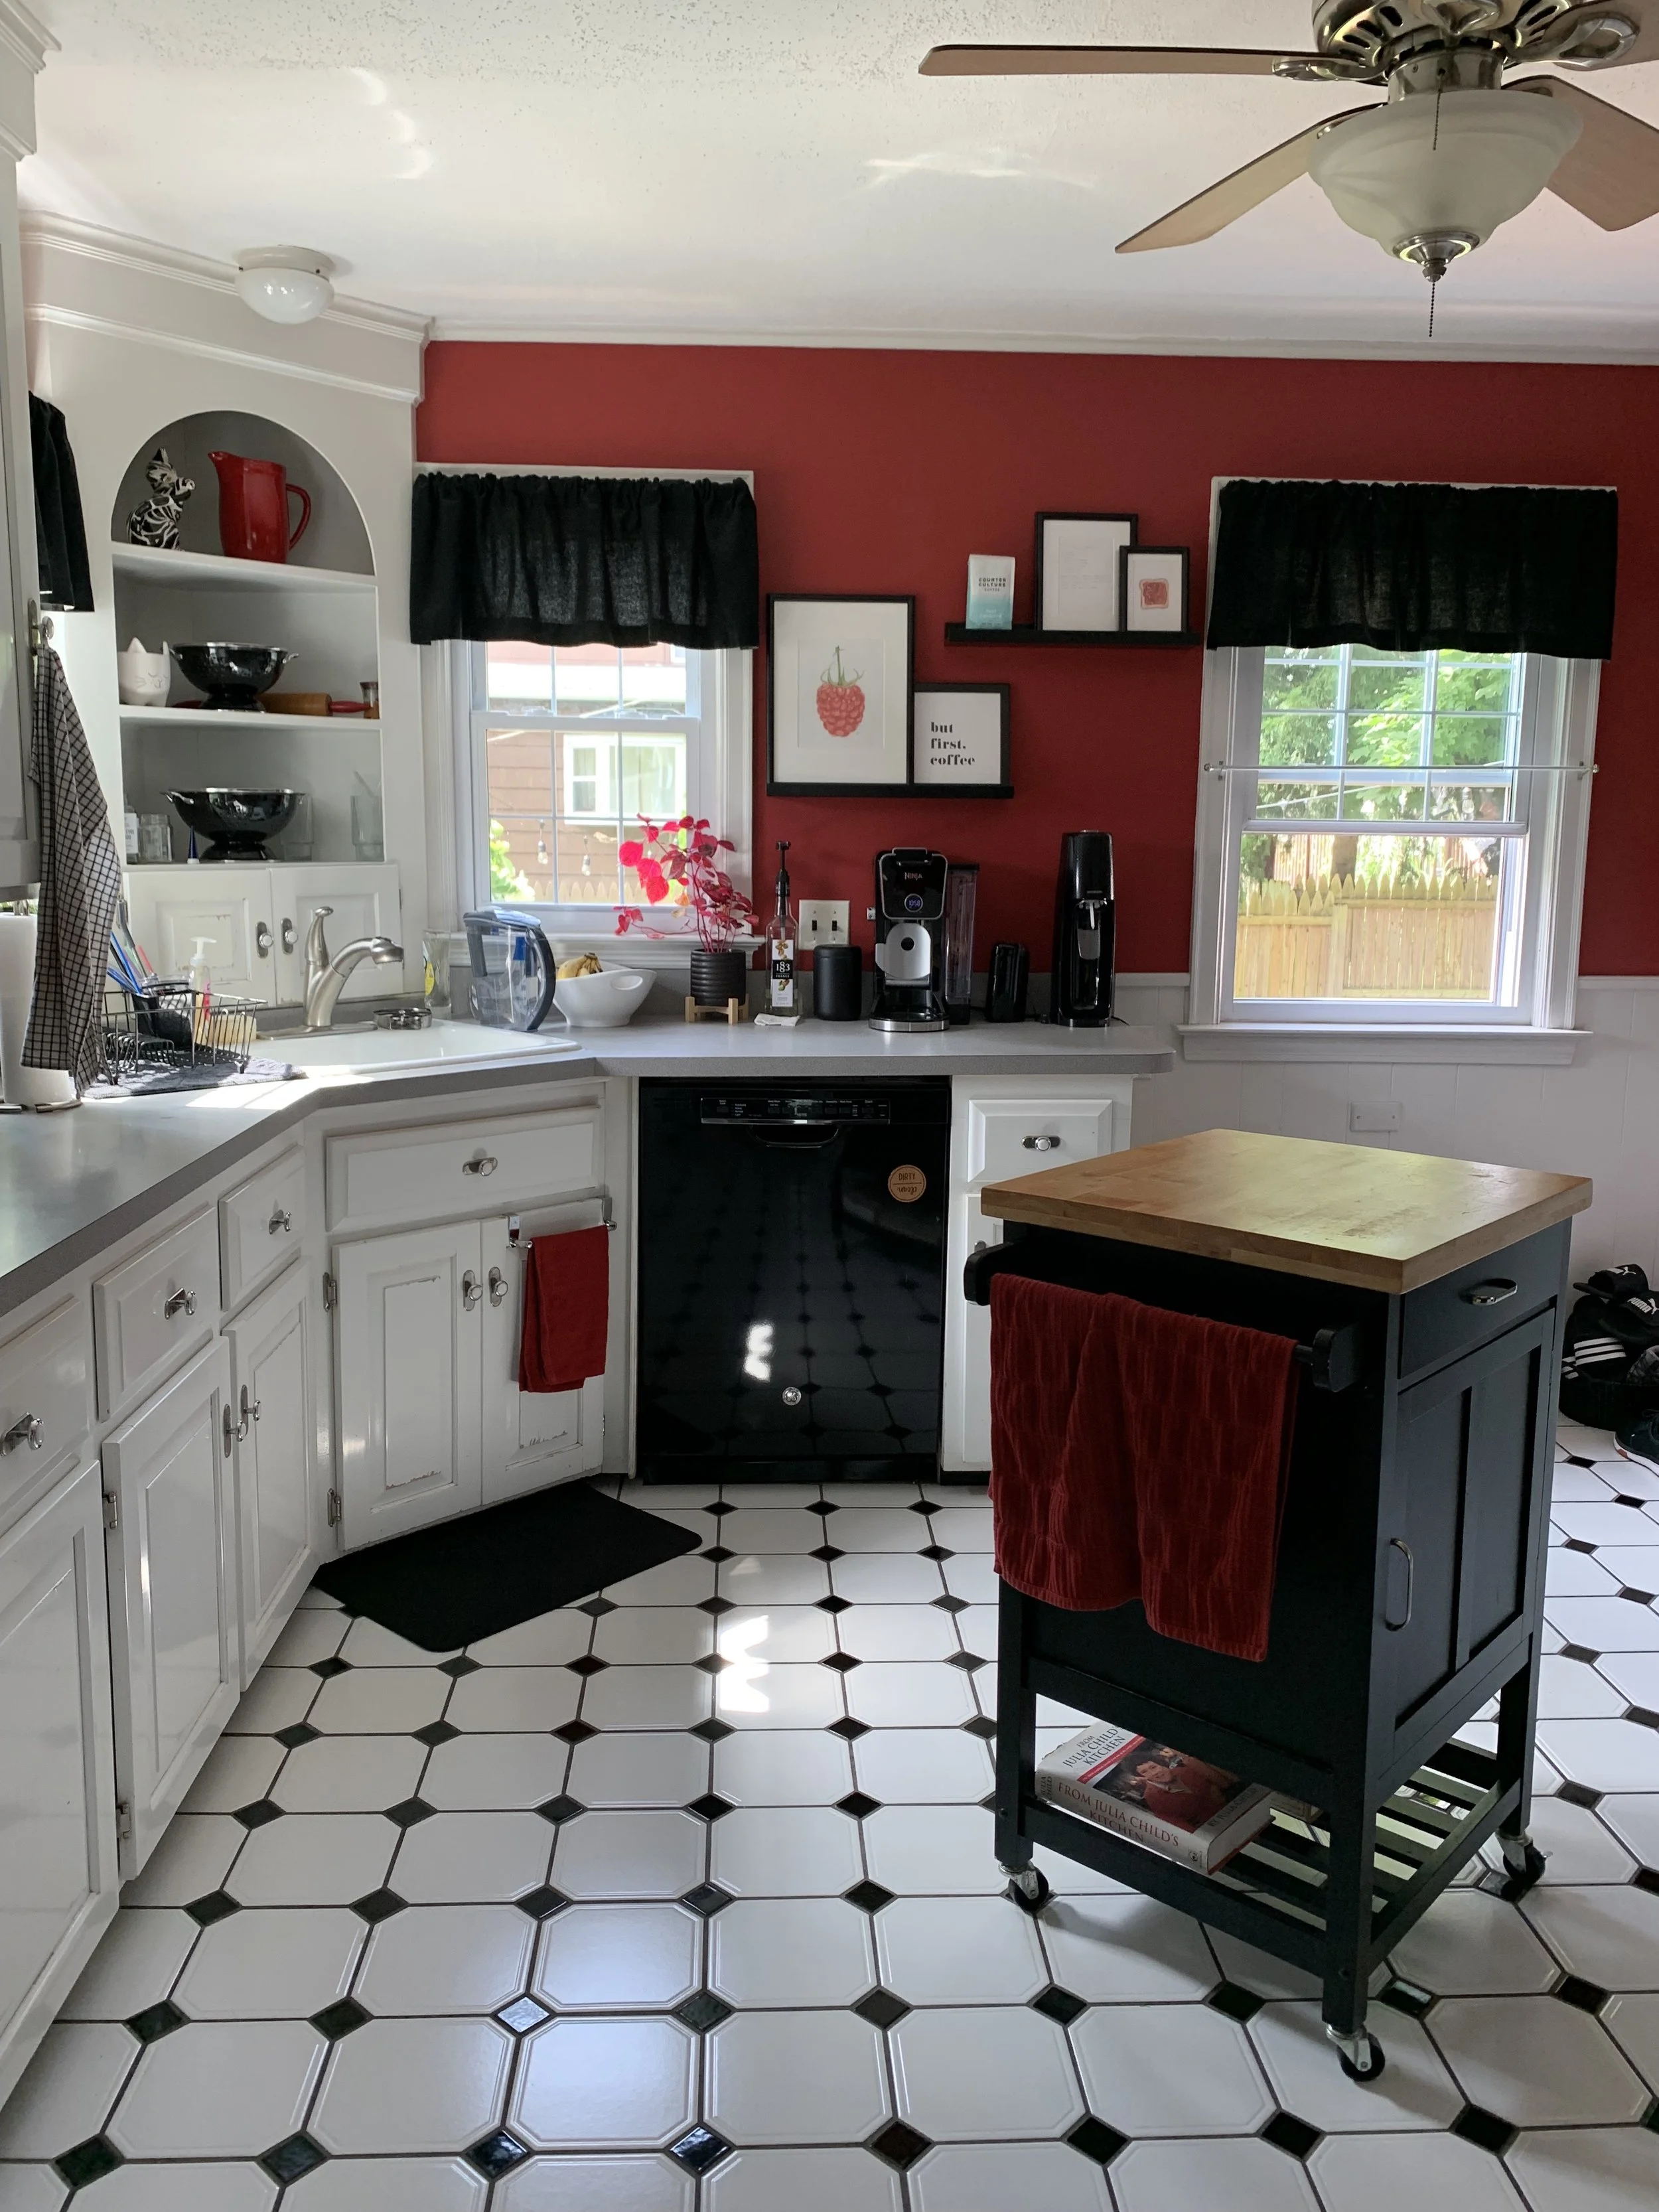
Our home was built in the 40’s and originally had a wood burning stove as the main cooking source. Over the years each owner has put their own spin on the space - including us when we first moved in a decade ago and painted the kitchen red. It had it’s charm but it was never really a proper representation of our style. Plus all of the series of updates gave the kitchen a bit of a split personality in terms of style and function.
The time came and we were SO ready to officially re-do the kitchen with a cohesive finish.
The game plan:
Say goodbye to the red
Reface cabinets + new hardware
Replace flooring + trim
Scrape textured ceiling
Update lighting
Add tile backsplash
Replace laminate countertops
Update appliances - stove, range, dishwasher and fridge
Add breakfast bar
Open up the wall to the pantry
We set aside some money to update everything and then disaster struck in the finished side of our basement. Long story short - mold and lots of it. After a lengthy insurance claim process, professional remediation and partial rebuild we had nearly exhausted the kitchen budget so we had to sit down and rethink our game plan. The options A. pause the entire kitchen project and start saving again. B. get creative with the to-do list and DIY everything else. Being the absolutely impatient person that I am obviously the choice was B.
So the NEW game plan became:
Say goodbye to the red
Paint existing cabinets + new hardware
Keep flooring + trim and work into design
Scrape textured ceiling
Update lighting
Add backsplash but keep the design simple
Paint existing laminate countertop (this has been a controversial decision!)
Keep stove, dishwasher and fridge and only update fridge and range to match existing appliance
Ditch breakfast bar for now
Pantry update: TBD
Let’s go over what we were able to accomplish in part 1!
This post contains affiliate links. By purchasing through these links, I may receive a small commission at no cost to you. All thoughts shared are my own and honest opinions.
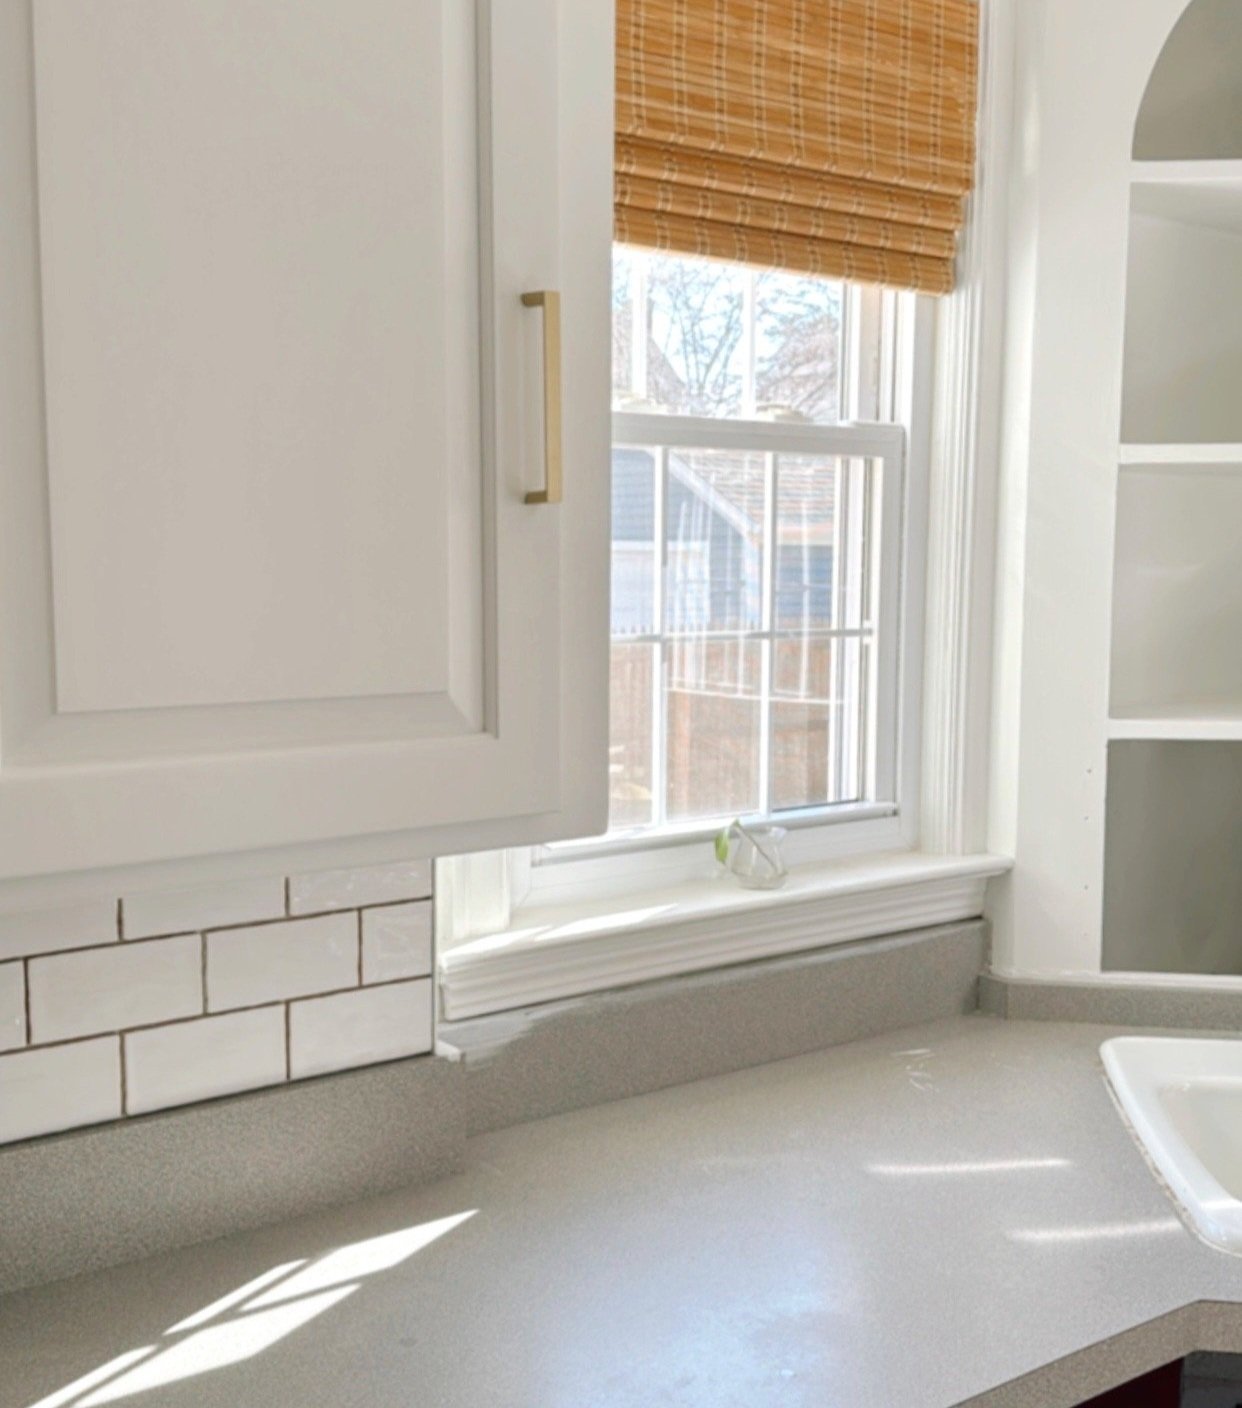
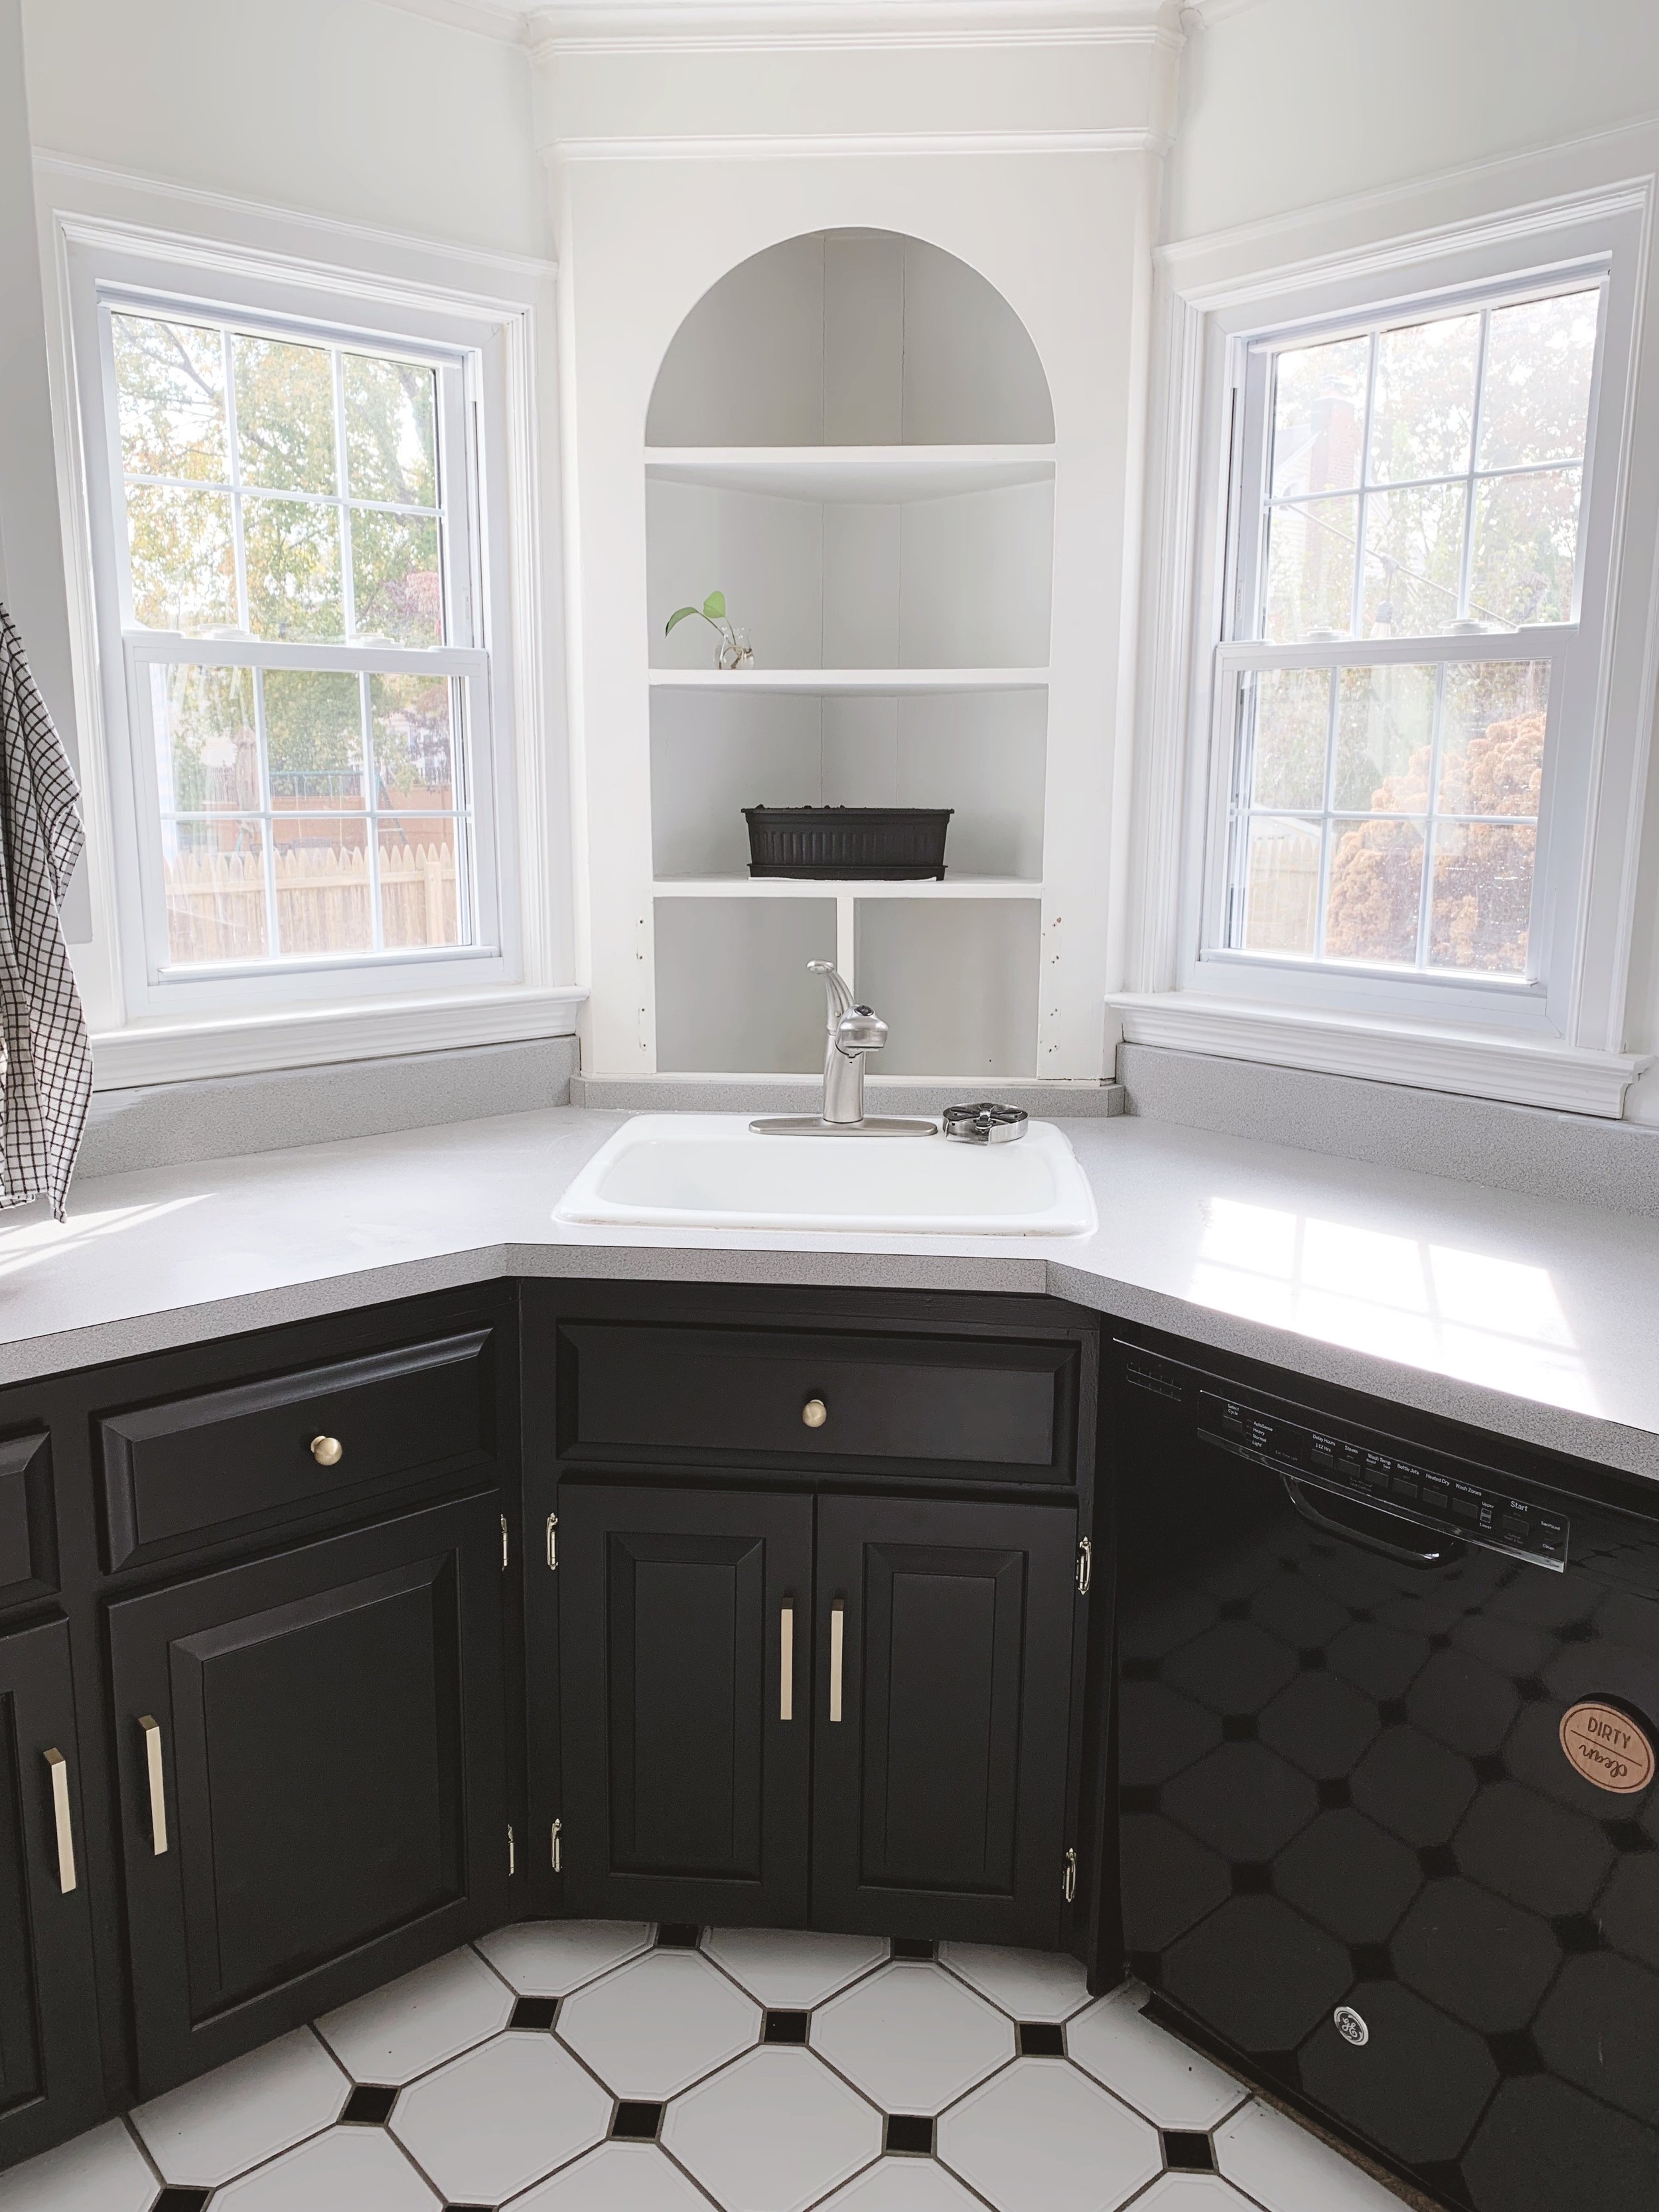
It took some serious patching and several coats of primer but we went from bright red to Sherwin Williams Pure White. We wanted a blank canvas when it came to the walls so we could add personality through finishes and decor.
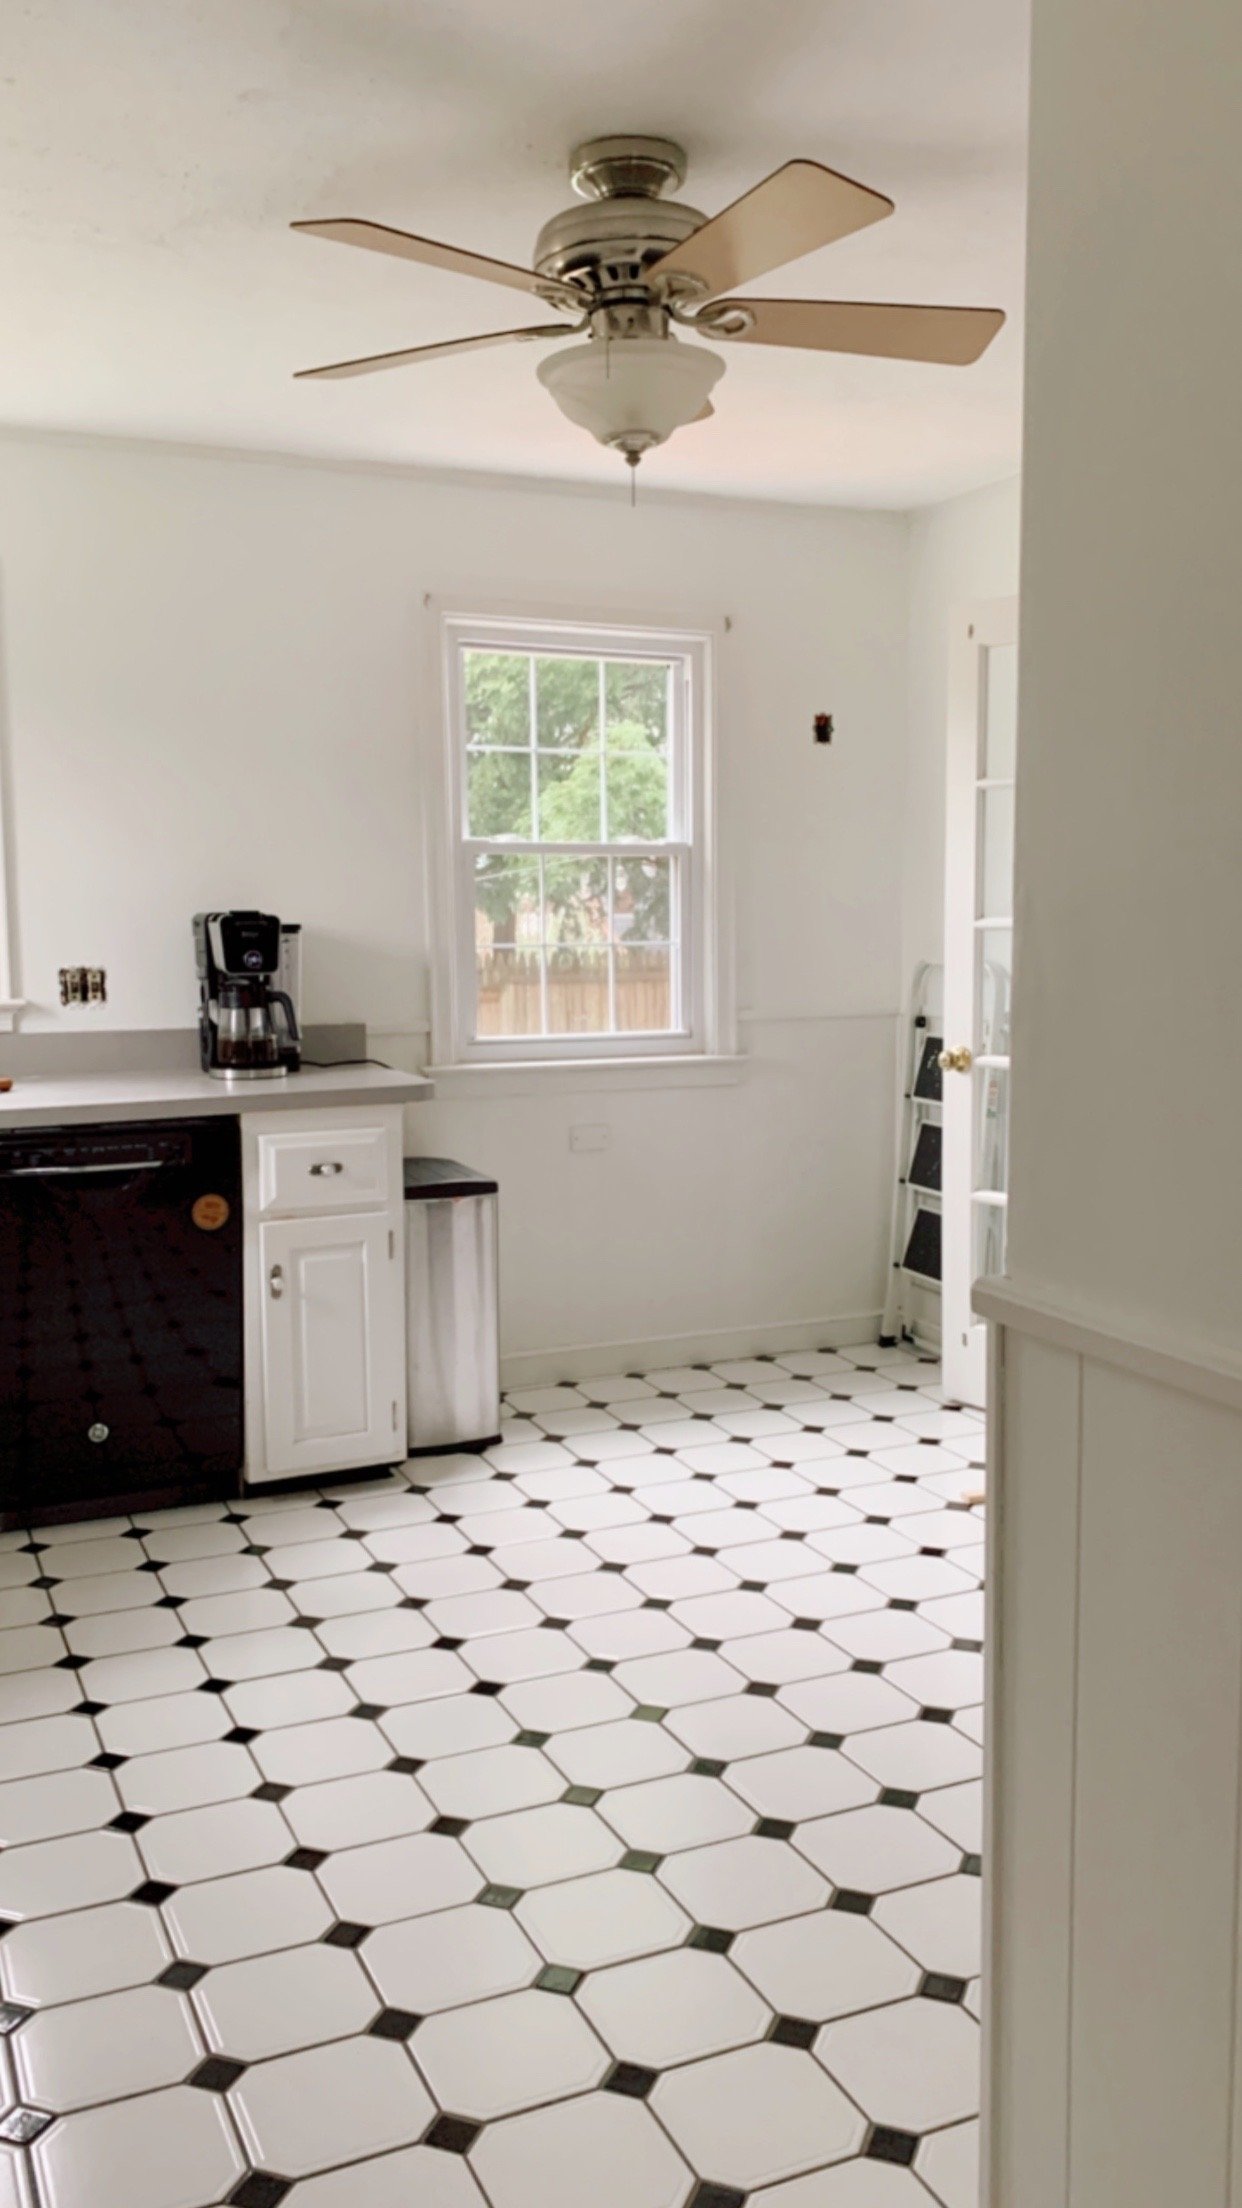
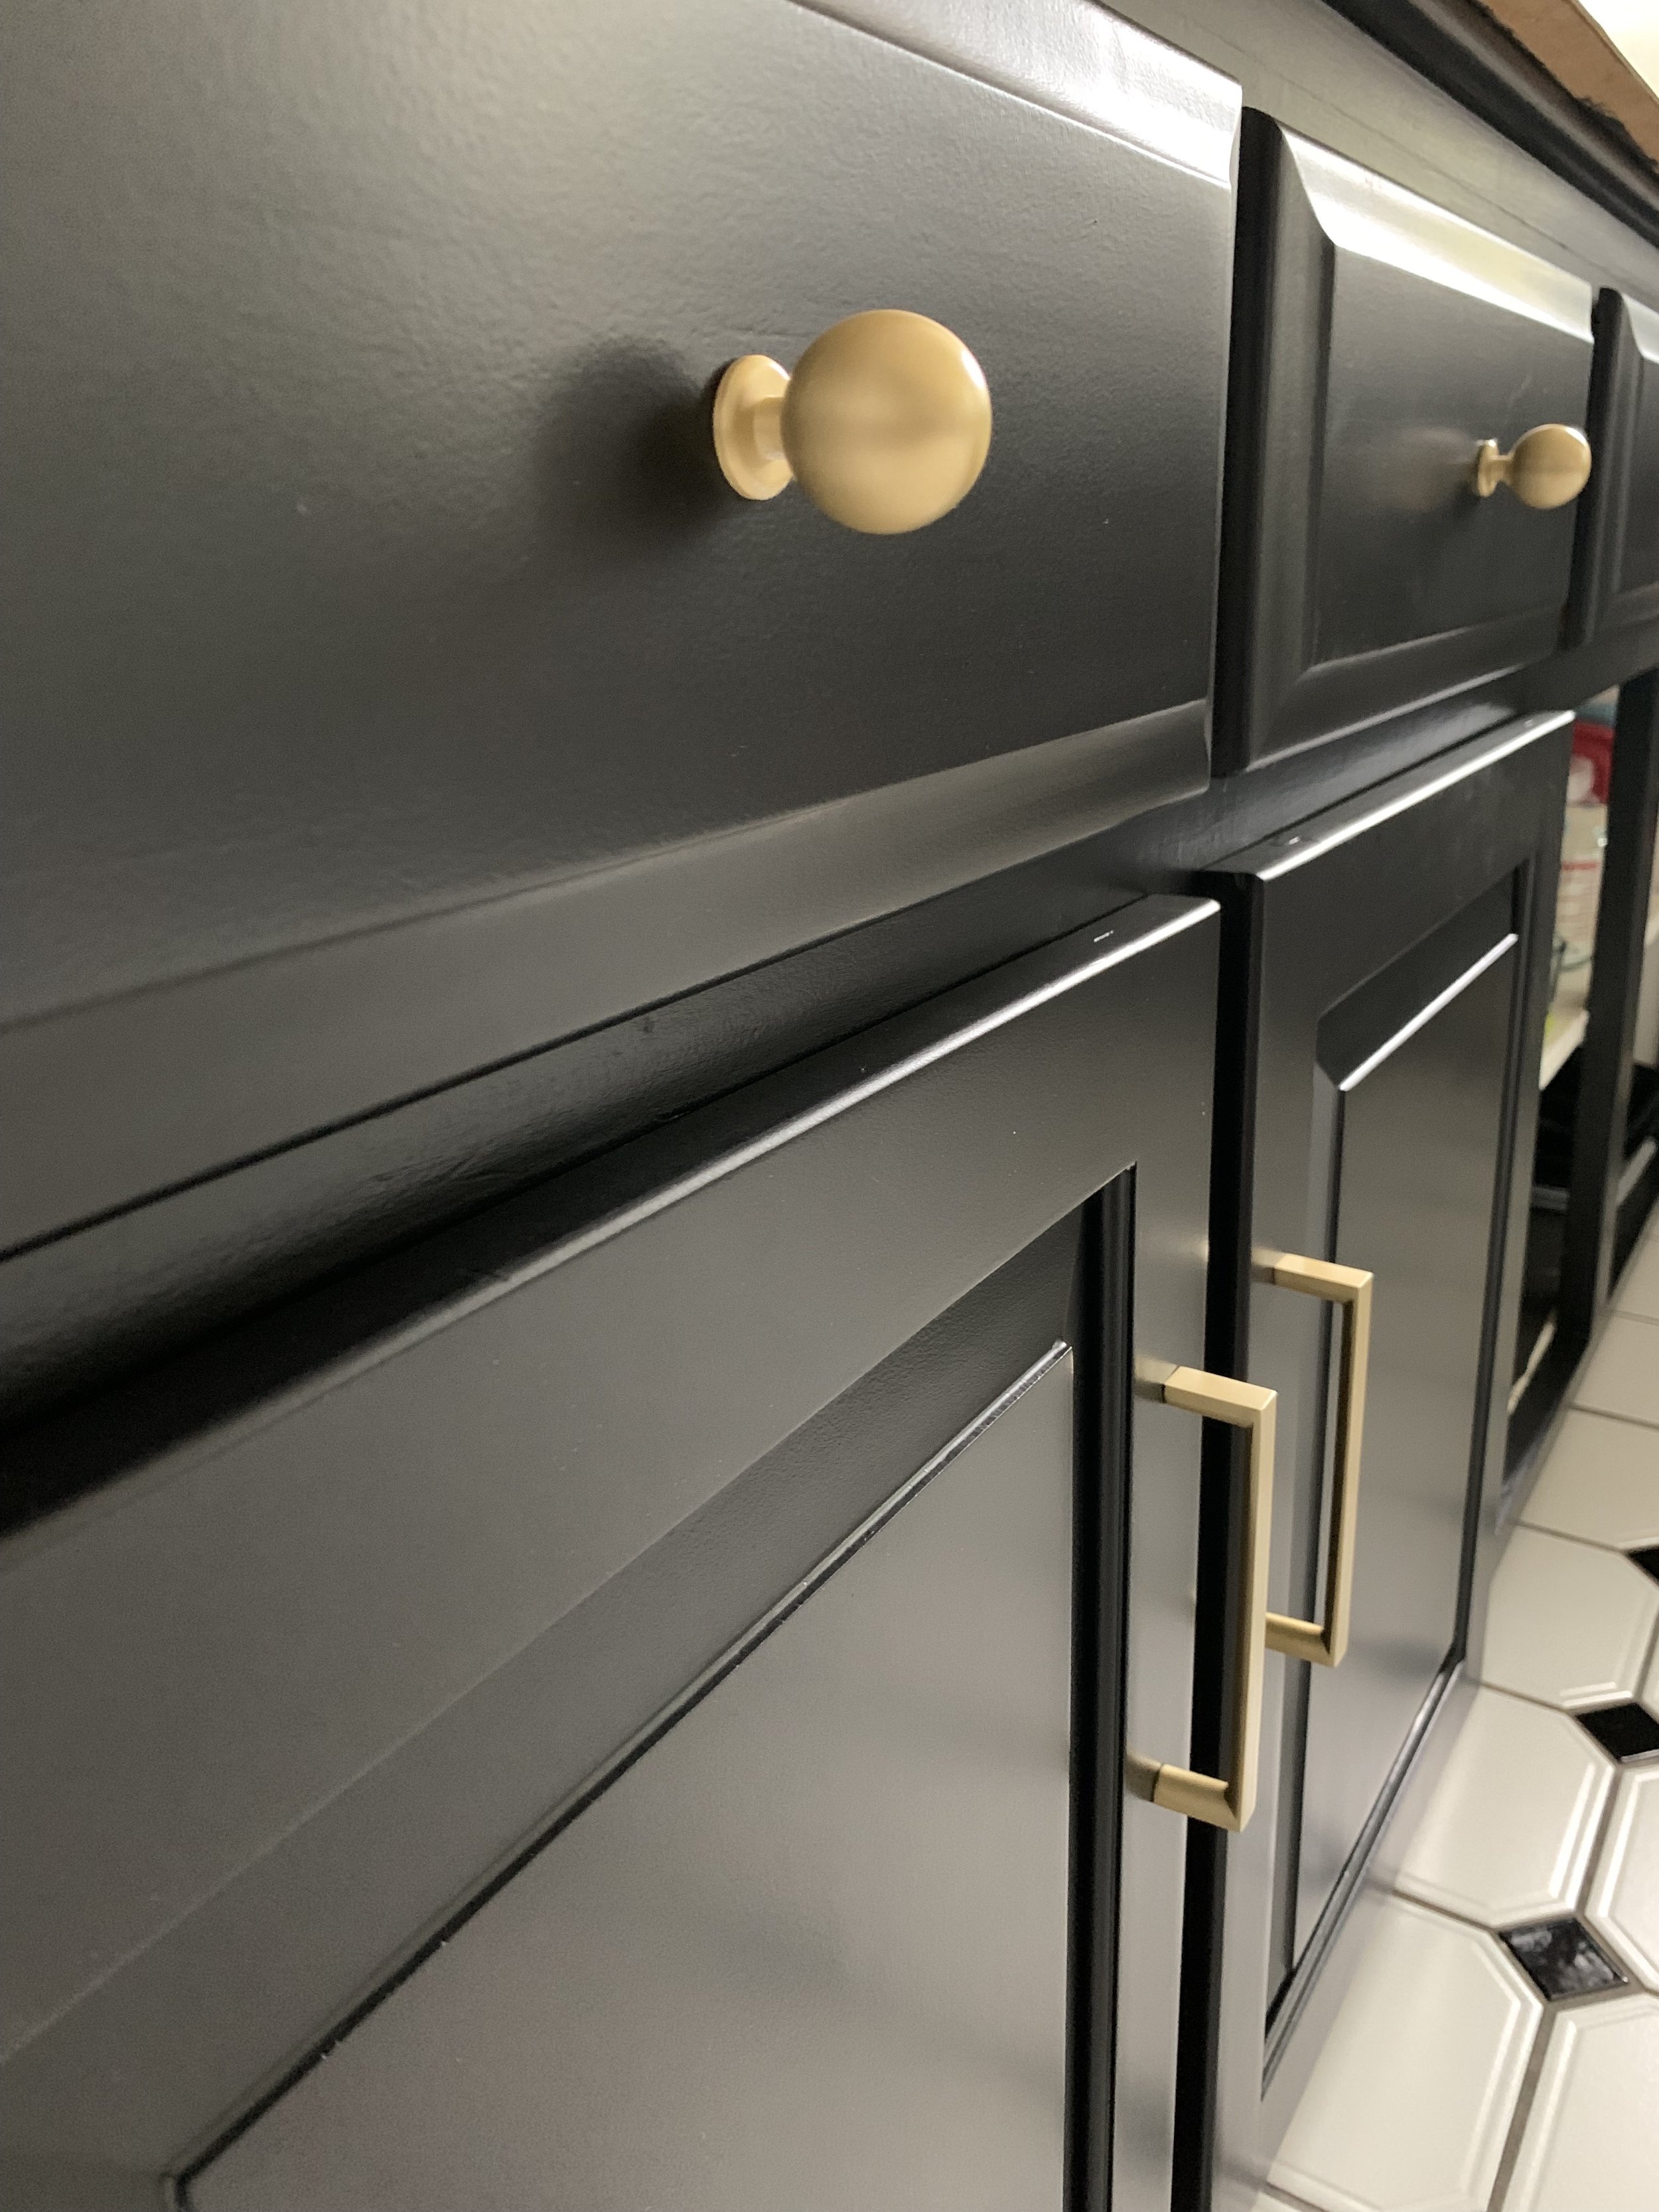
Honestly this made a WORLD of difference and made me feel so much better about scaling down the project budget. We went with a tuxedo look to tie in the black and white of the flooring since that and the trim were now staying. We opted for brass hardware to add a touch of warmth to the look.
Upper Cabinets: Sherwin Williams Pure White
Lower Cabinets: Sherwin Williams Tricorn Black
Brushed brass knobs (gifted): QOGRISUN Amazon
Brushed brass handles: Goldenwarm Amazon
So here is what we were left with on the list:
Say goodbye to the red
Paint existing cabinets + new hardware
Work existing flooring + trim into design
Scrape textured ceiling
Update lighting
Add backsplash but keep the design simple
Paint existing laminate countertop (this has been a controversial decision!)
Update fridge and range to match existing appliance