The kitchen project is finally underway!
Our home was built in the 40’s and originally had a wood burning stove as the main cooking source. Over the years each owner has put their own spin on the space - including us when we first moved in a decade ago and painted the kitchen red. It had it’s charm but it was never really a proper representation of our style. Plus all of the series of updates gave the kitchen a bit of a split personality in terms of style and function.
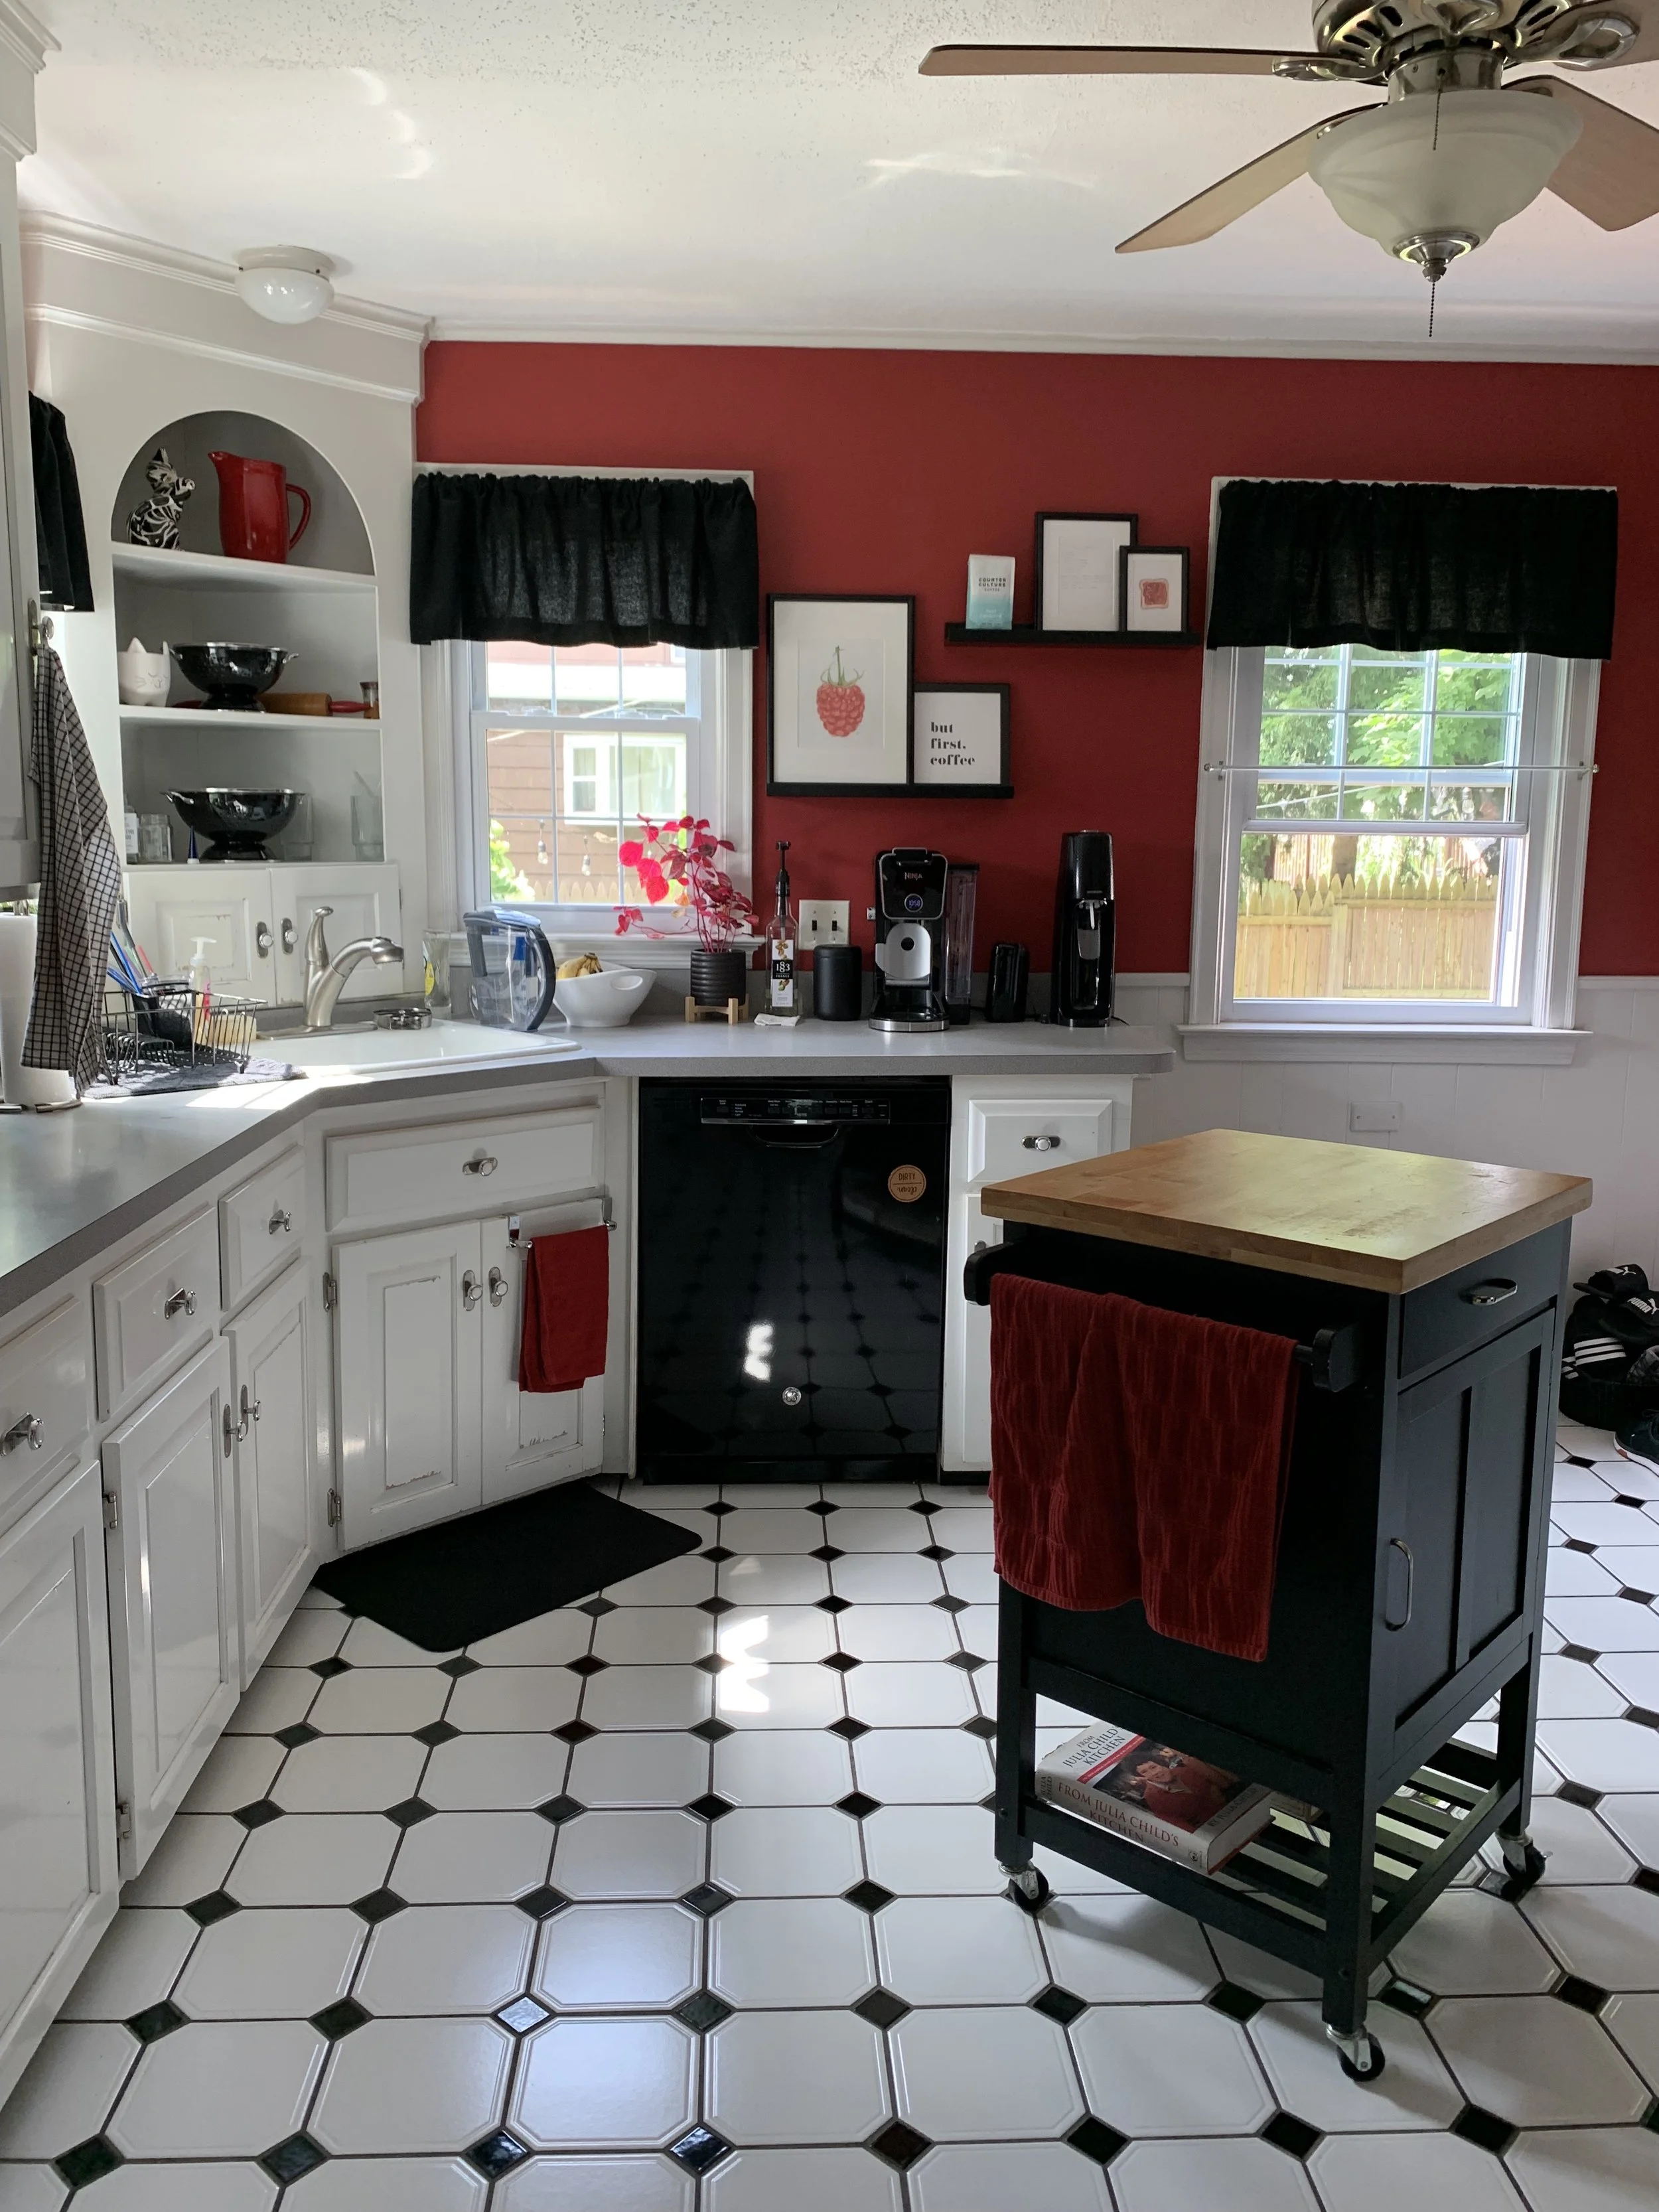
The time came and we were SO ready to officially re-do the kitchen with a cohesive finish.
The game plan:
Say goodbye to the red
Reface cabinets + new hardware
Replace flooring + trim
Scrape textured ceiling
Update lighting
Add tile backsplash
Replace laminate countertops
Update appliances - stove, range, dishwasher and fridge
Add breakfast bar
Open up the wall to the pantry
We set aside some money to update everything and then disaster struck in the finished side of our basement. Long story short - mold and lots of it. After a lengthy insurance claim process, professional remediation and partial rebuild we had nearly exhausted the kitchen budget so we had to sit down and rethink our game plan. The options A. pause the entire kitchen project and start saving again. B. get creative with the to-do list and DIY everything else. Being the absolutely impatient person that I am obviously the choice was B.
So the NEW game plan became:
Say goodbye to the red
Paint existing cabinets + new hardware
Keep flooring + trim and work into design
Scrape textured ceiling
Update lighting
Add backsplash but keep the design simple
Paint existing laminate countertop (this has been a controversial decision!)
Keep stove, dishwasher and fridge and only update fridge and range to match existing appliance
Ditch breakfast bar for now
Pantry update: TBD
Let’s go over what we were able to accomplish in part 1!
This post contains affiliate links. By purchasing through these links, I may receive a small commission at no cost to you. All thoughts shared are my own and honest opinions.
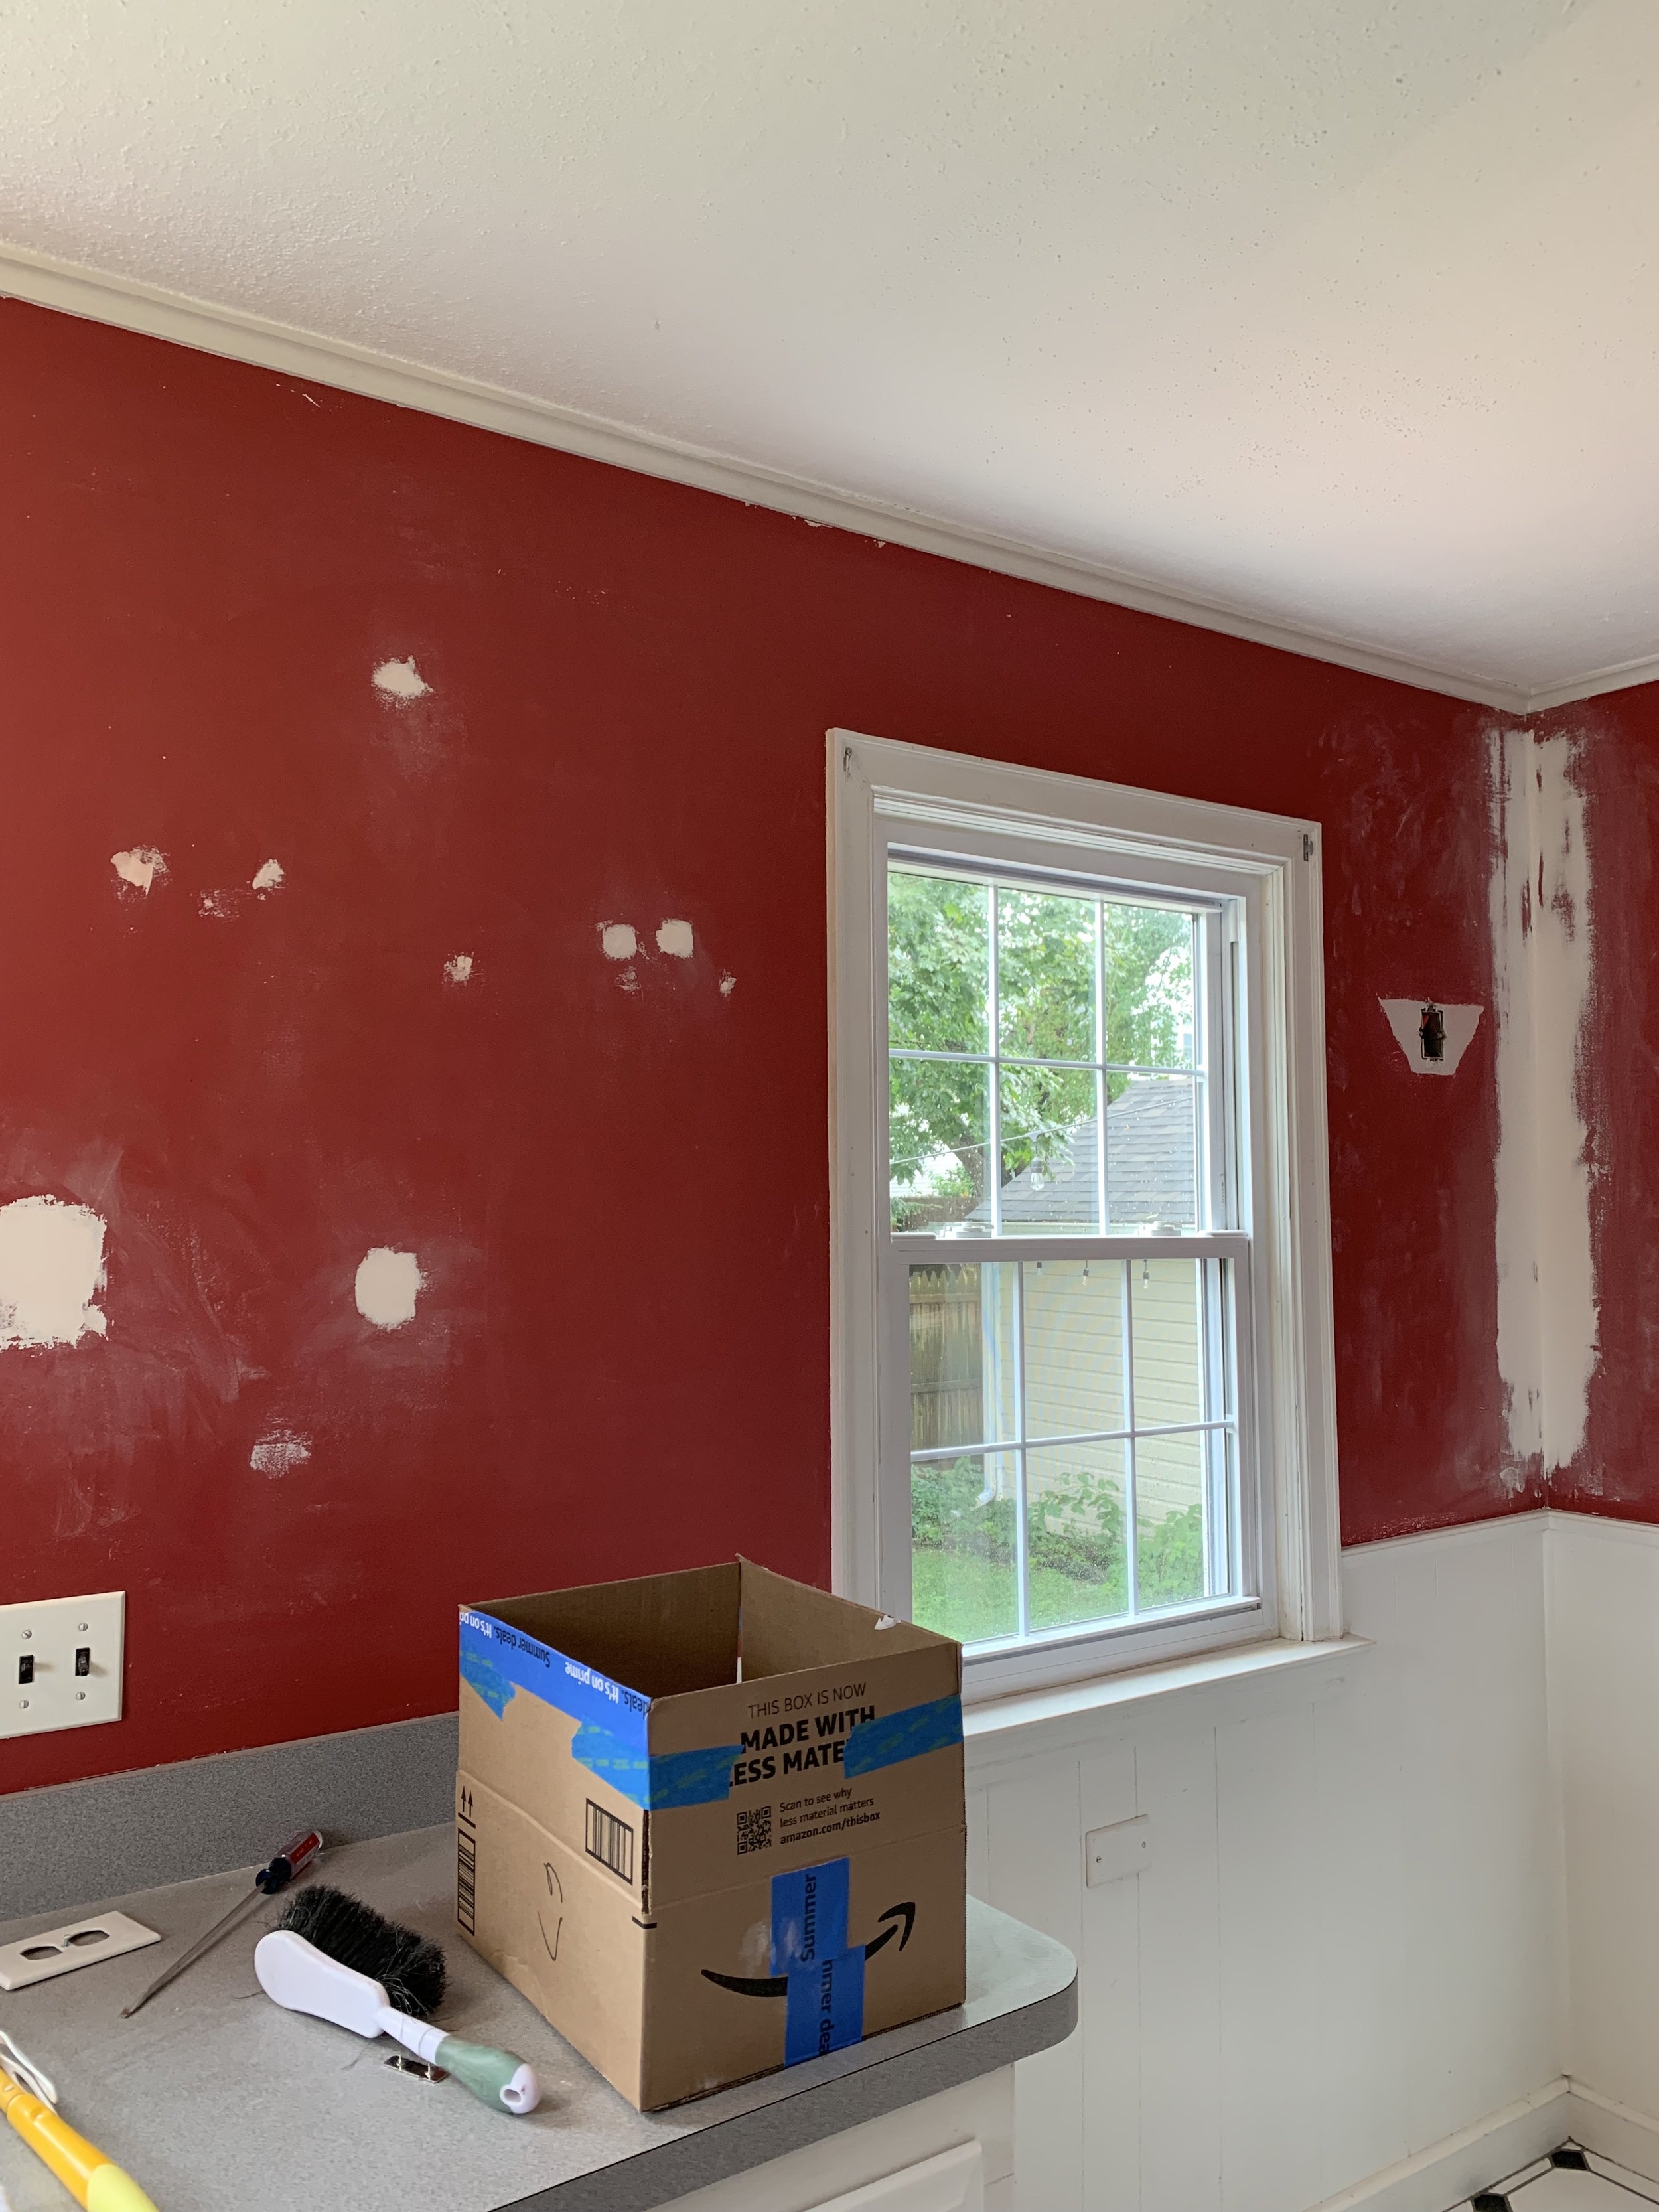
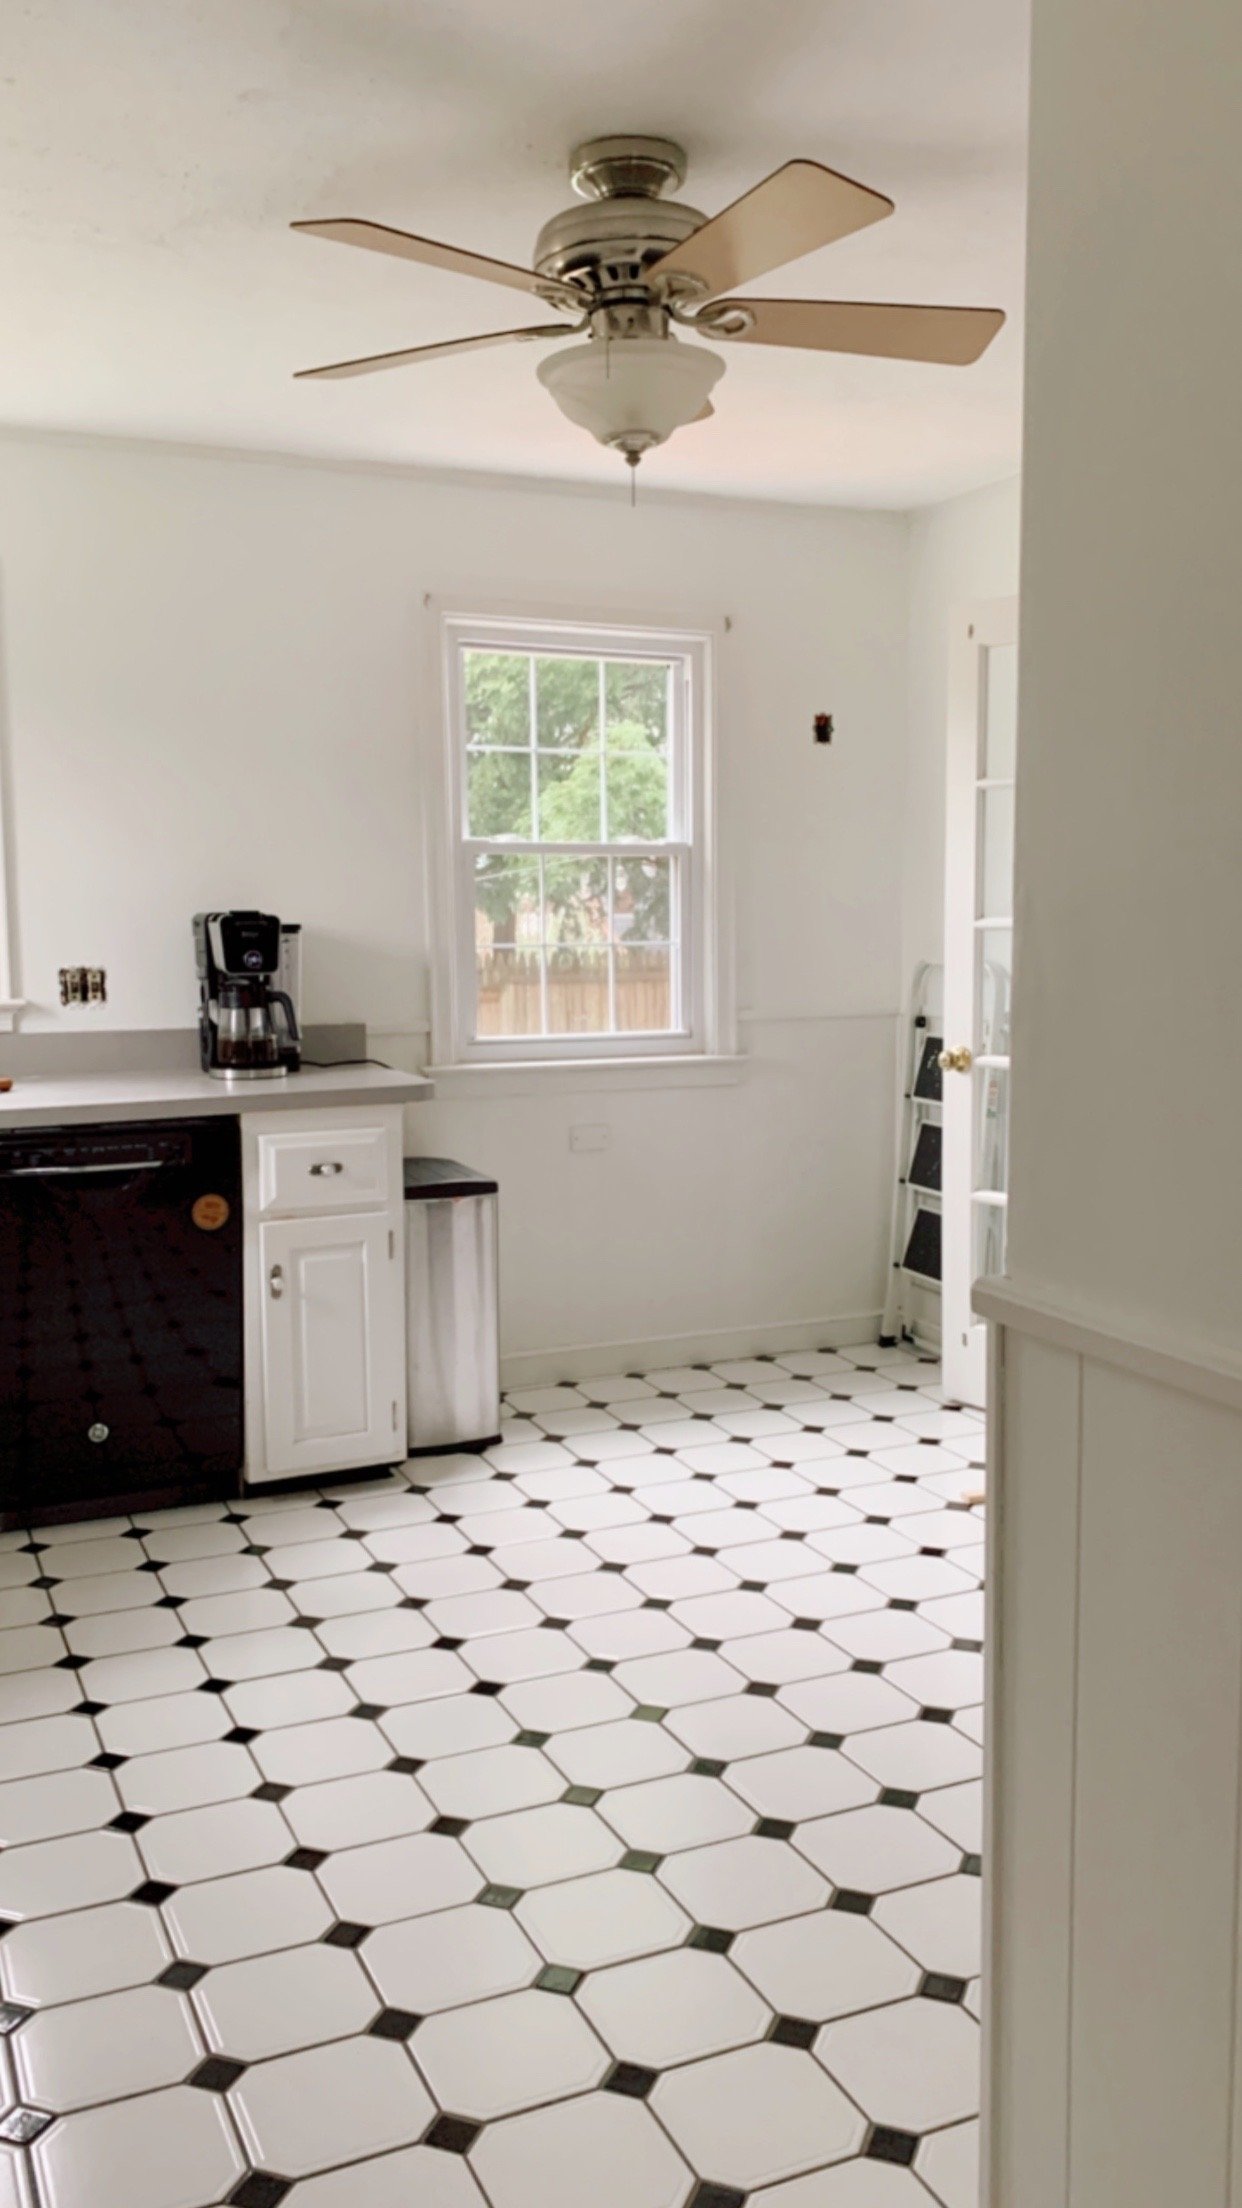
We said goodbye to the red!
It took some serious patching and several coats of primer but we went from bright red to Sherwin Williams Pure White. We wanted a blank canvas when it came to the walls so we could add personality through finishes and decor.
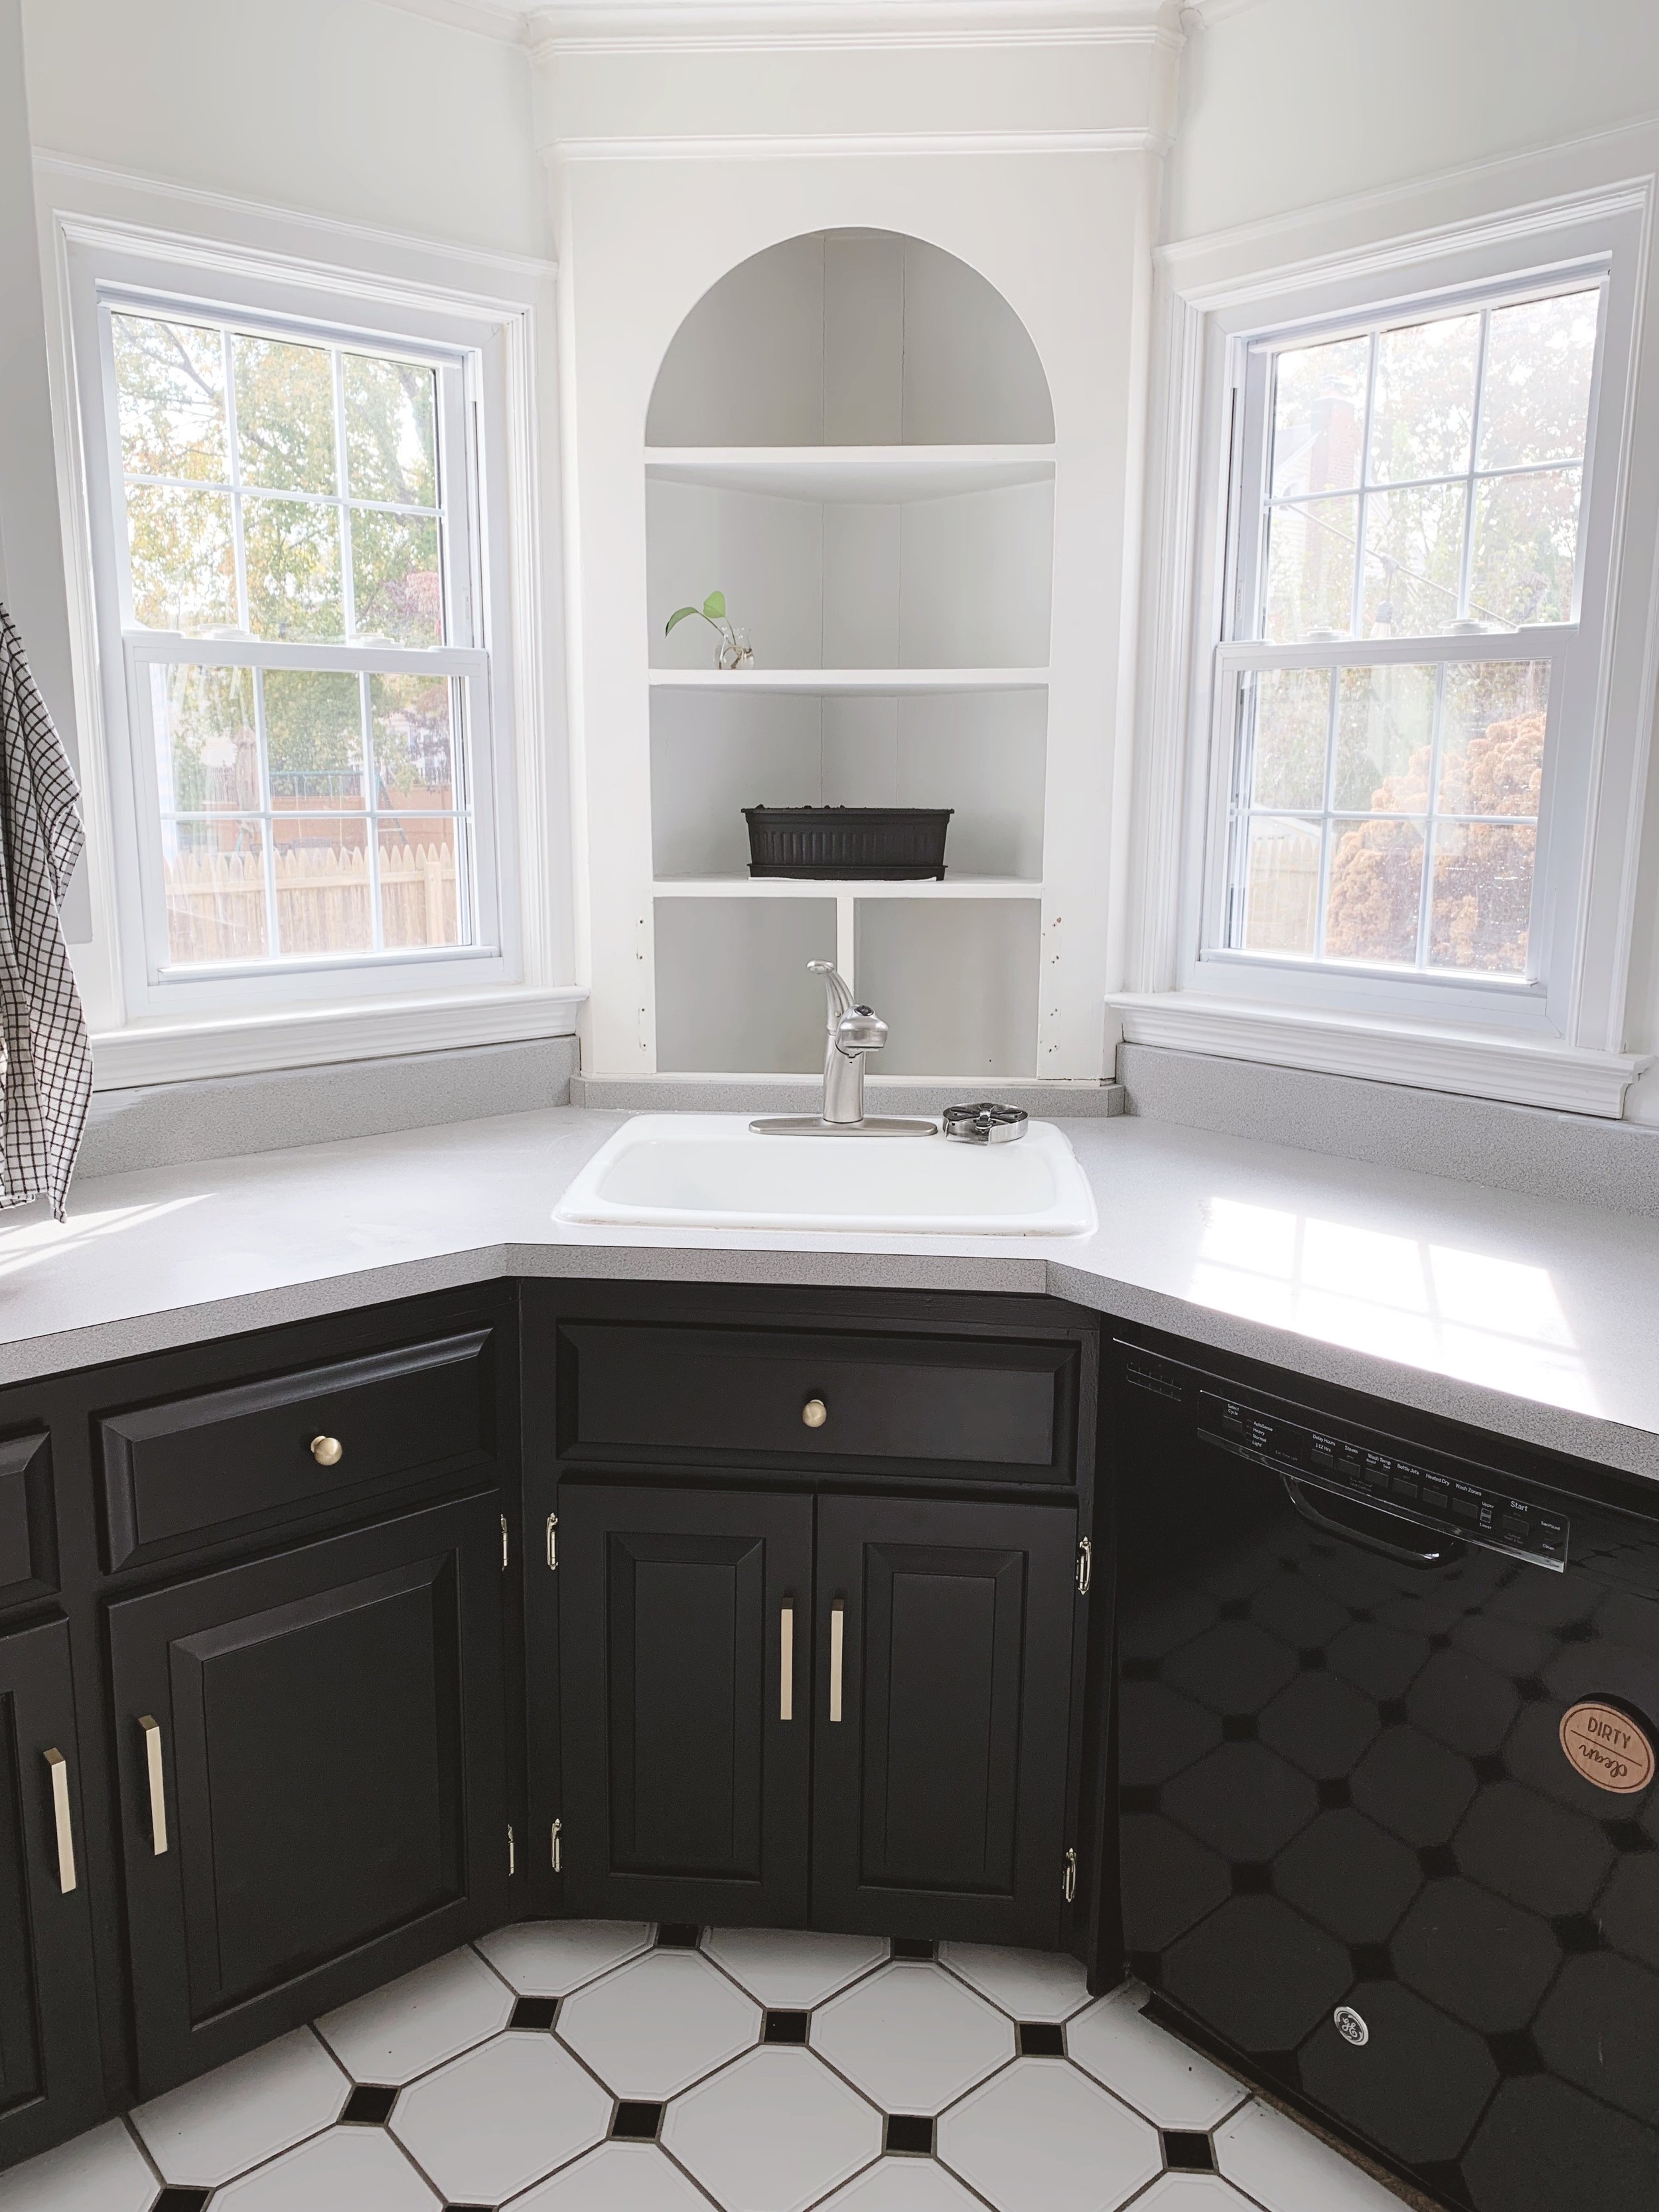
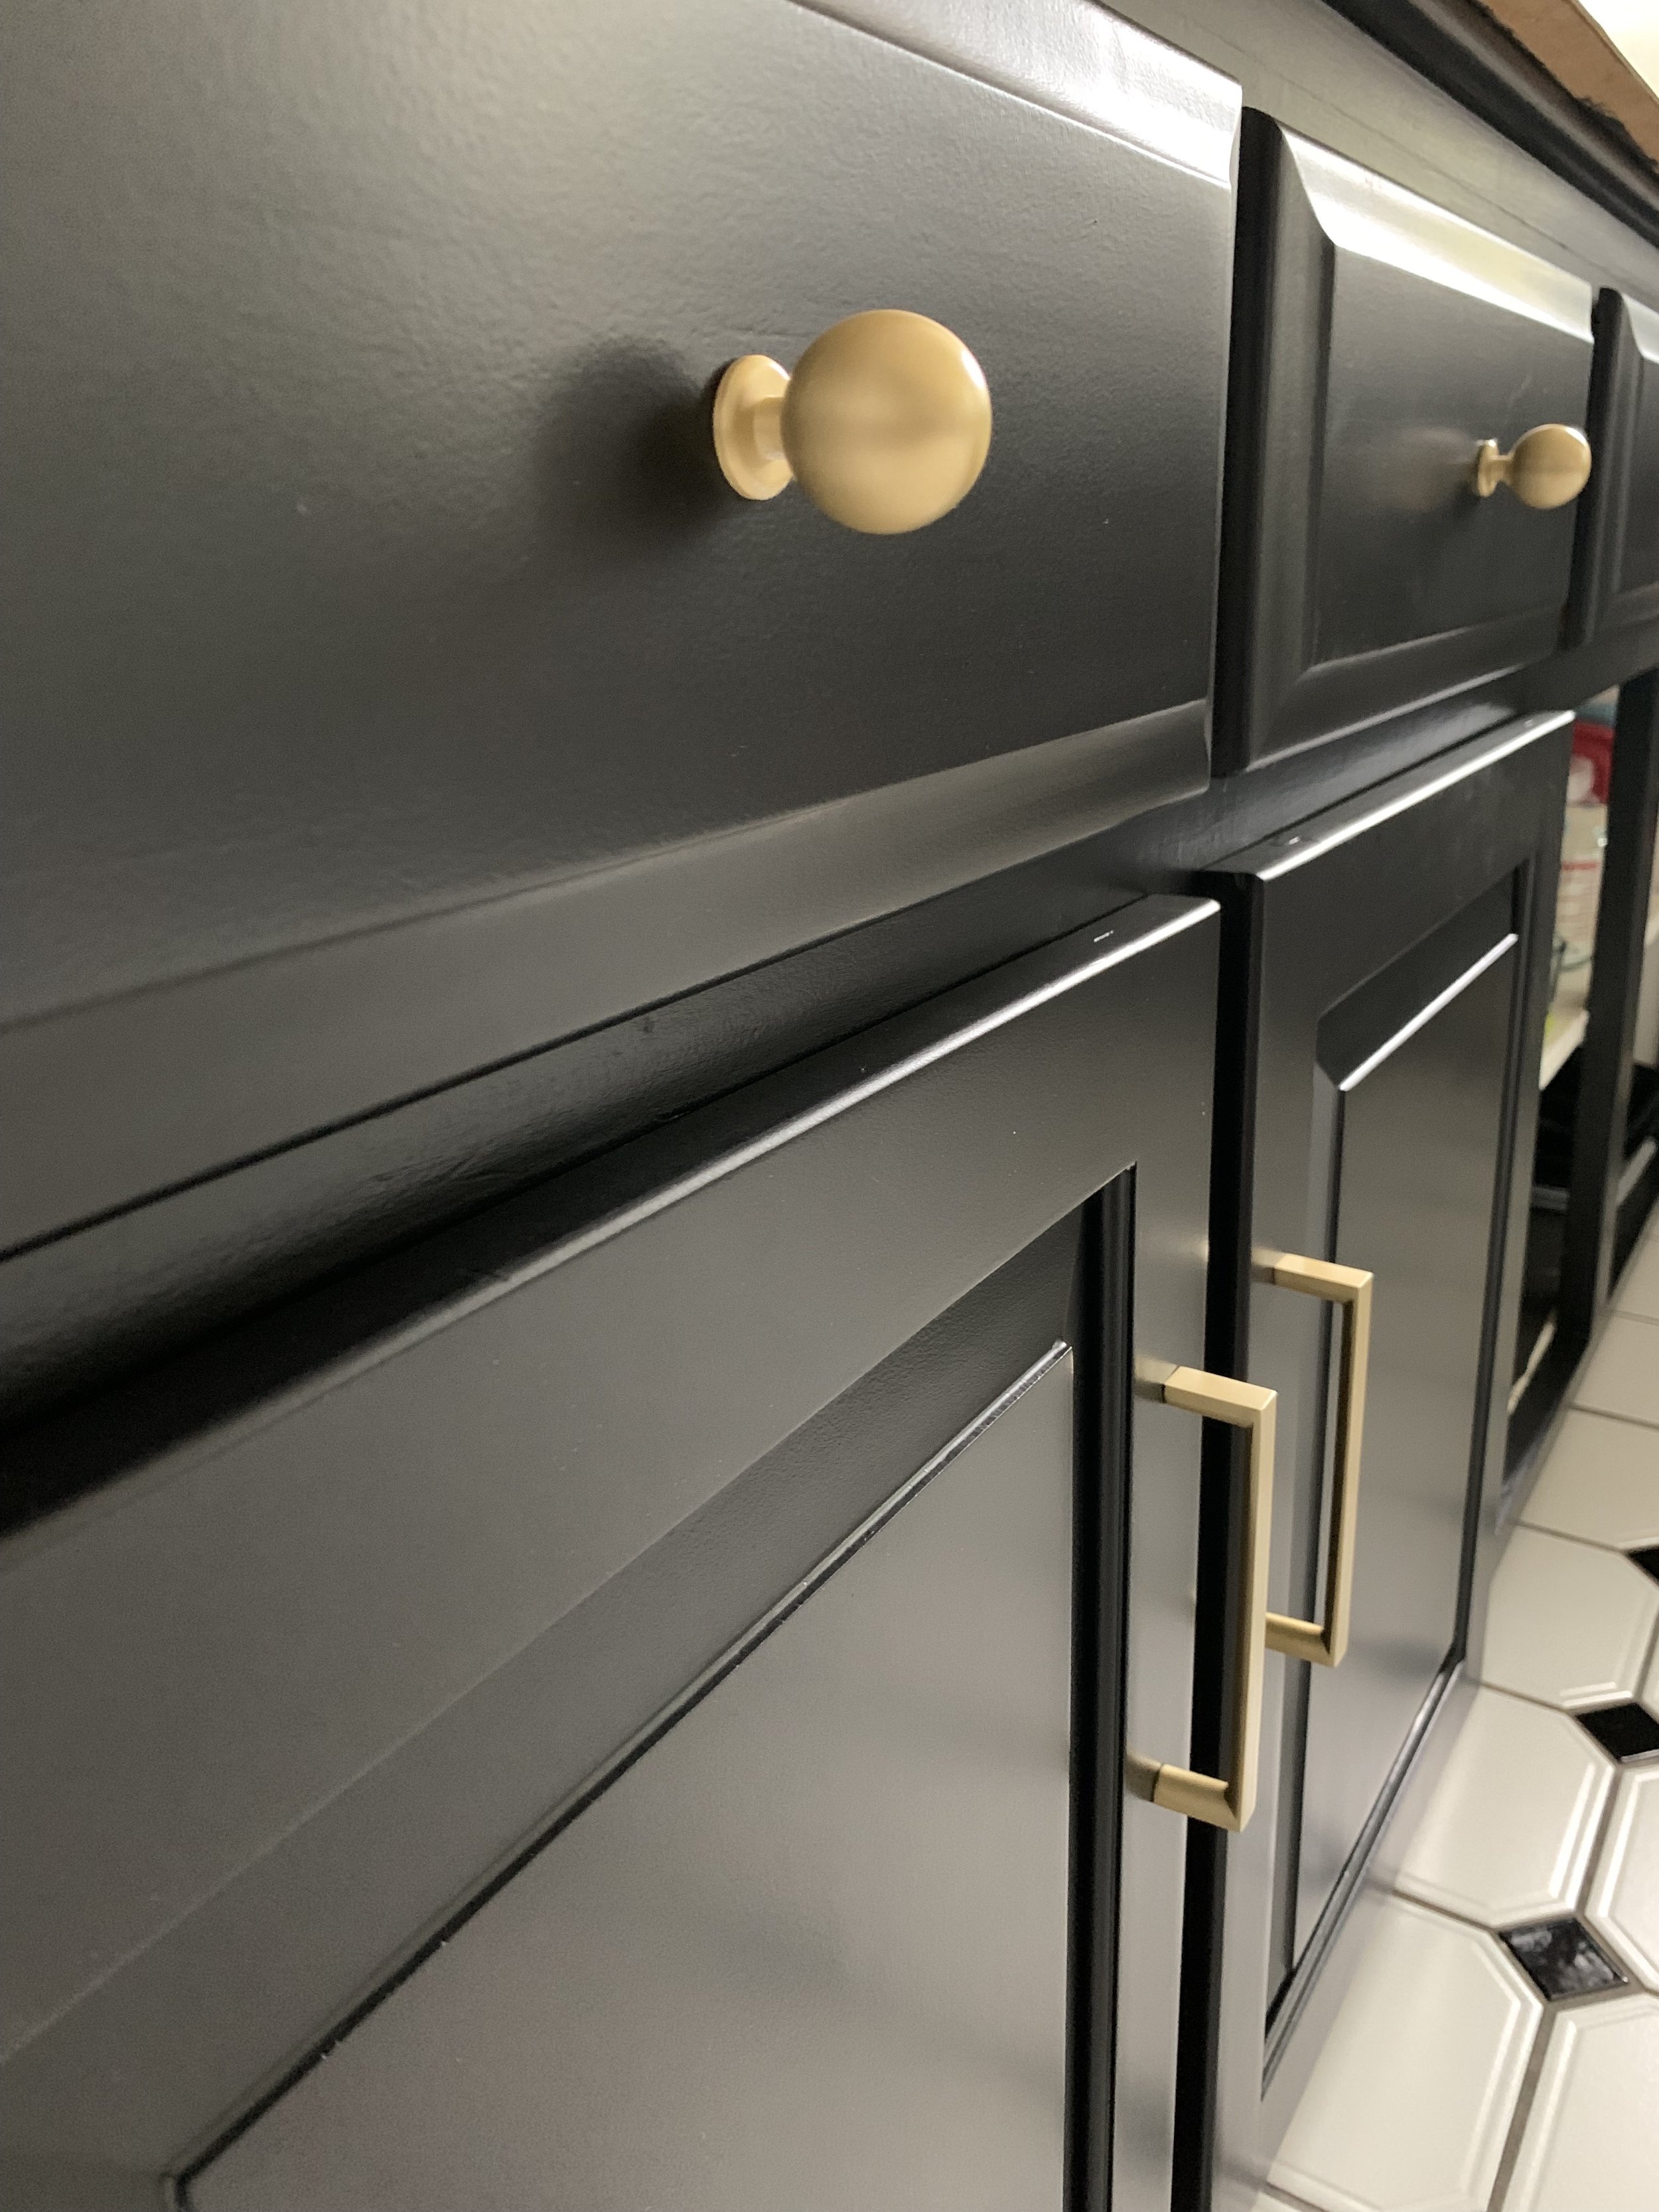
We patched and painted the existing cabinets and updated the hardware.
Honestly this made a WORLD of difference and made me feel so much better about scaling down the project budget. We went with a tuxedo look to tie in the black and white of the flooring since that and the trim were now staying. We opted for brass hardware to add a touch of warmth to the look.
Upper Cabinets: Sherwin Williams Pure White
Lower Cabinets: Sherwin Williams Tricorn Black
Brushed brass knobs (gifted): QOGRISUN Amazon
Brushed brass handles: Goldenwarm Amazon
So here is what we were left with on the list:
Say goodbye to the red
Paint existing cabinets + new hardware
Work existing flooring + trim into design
Scrape textured ceiling
Update lighting
Add backsplash but keep the design simple
Paint existing laminate countertop (this has been a controversial decision!)
Update fridge and range to match existing appliance